- Servicing Case Studies
Step-by-Step Guide to Removing a Custom Exhaust Safely | GVE London – Blog
Learn how to safely and efficiently remove a custom exhaust system with this step-by-step guide. Tips, tools, and humor to help you through the process!
Removing a custom exhaust may sound like a simple job, but it requires planning, patience, and a good set of tools. Whether you’re upgrading to a new system or simply taking it off for maintenance, doing it safely should be your top priority. Let’s break it down step by step, with a bit of humor to keep you entertained during the process.
Why Safety and Patience Matter
Taking shortcuts, skipping steps, and even using cheaply made tools can lead to injuries or a damaged exhaust. Nobody wants to explain to their insurance company how and why they dropped a hot exhaust pipe on their foot. So, remember, the goal is to be as safe as possible and perform a successful removal—not become a viral fail video.
1. Prepare Your Vehicle and Workspace
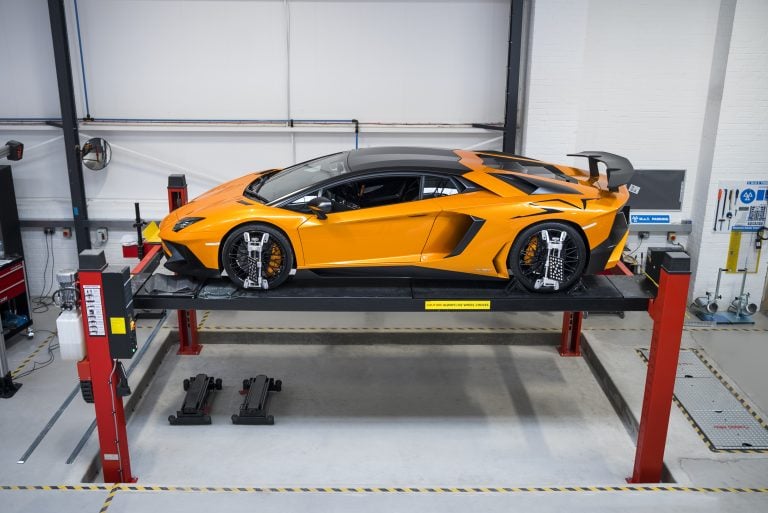
It’s never a good idea to compromise on safety. So, start by parking your car on a flat surface. A slanted driveway invites trouble. Use jack stands to lift your car securely; the factory jack won’t do the trick here. Your car is heavy, and you don’t want to rely on a wobbly stand.
Once your car is up, you’ll have plenty of light. However, a flashlight might still come in handy. Bonus points if you’re rocking safety goggles—rusty bolts love to fling surprises.

2. Gather All Necessary Tools
There’s no worse feeling than sliding under the car, fully prepared to complete a job, only to have your momentum ruined by a missing tool. So, here’s your checklist for tools:
- A socket wrench set (multiple sizes because bolts love to be unpredictable).
- Penetrating oil for those stubborn, rusted fasteners.
- A rubber mallet, because sometimes gentle persuasion works better than brute force.
- A creeper or an old cardboard box to slide under the car without feeling like you’re wrestling with asphalt.
You can get these tools online or from a supercar service center, like GVE London. Oh, and also, keep snacks and water handy. Removing the exhaust is—forgive the pun—quite an exhausting task. A granola bar can save you from those hunger pangs.
3. Inspect and Loosen the Exhaust Components
Before you start unbolting, inspect the entire exhaust system. Locate all the bolts, clamps, and rubber hangers holding the exhaust in place. This is your “where’s Waldo” moment—miss one, and you’ll find out the hard way when the pipe refuses to budge.
Rust is your mortal enemy here. Spray penetrating oil on all visible bolts and clamps. Let it sit for a few minutes to work its magic. Think of it as marinating the bolts for easier removal.
Once the bolts and clamps are ready, grab your socket wrench and get to work. Loosen the clamps connecting the exhaust sections. If they’re too stubborn, use the rubber mallet, which should do the trick. Be patient; stripped bolts can turn this project into a nightmare.
Read Also: Maintenance Tips for Custom Supercar Exhausts

5. Disconnect the Rubber Hangers
Rubber hangers are the unsung heroes of your exhaust system. They keep everything in place while also allowing for some movement. To remove them, use a hanger removal tool (if you have one) or a flathead screwdriver.
A bit of WD-40 can make this process easier. Slide the hangers off carefully, and watch out for the weight of the exhaust. It might surprise you how heavy it feels once it’s no longer attached to the car. Don’t let it drop on your foot—steel isn’t forgiving.
6. Remove the Exhaust System
Here comes the big moment. Removing your custom exhaust can be tricky, but once everything is disconnected, gently wiggle the exhaust to free it. This step requires some finesse. If it’s still stuck, double-check for hidden bolts or clamps.
Don’t yank or force it off. An exhaust system is delicate (and expensive). If you’re working with a buddy, now’s the time to call them over. Exhaust pipes are awkward to handle solo.
7. Clean the Underbody
With the exhaust removed, take a moment to inspect the area where it was mounted. Clean any rust or debris from the mounting points. It’s easier to deal with it now than later. A clean surface also makes installing a new exhaust a lot smoother.

Conclusion
Removing a custom exhaust on your own definitely earns you some DIY street cred, but it requires proper preparation, the right tools, and plenty of time—all while keeping safety a top priority. Need a hand? Contact GVE London! We’re car enthusiasts who’ve turned our passion into a full-time job, handling supercar servicing, repairs, detailing, wrapping, and everything car-related. Get in touch with us today!
Frequently Asked Questions
Yes, it’s impractical to remove a custom exhaust—or more appropriately, try to remove it—without lifting it. An adequate amount of clearance is required for both safety and accessibility. You’ll struggle to reach for tools or potentially hit your head somewhere if it’s too low. Use jack stands or a hydraulic lift; do not rely on the factory jack.
If a bolt refuses to turn, do not force it. You might mess up the threads/grooves and then removing it will become an even tougher job. Soat the stubborn bolt penetrating oil and give it time. Afterward, use a breaker bar or apply light taps with a rubber mallet to loosen it. As a last resort, consider using heat.
On paper, it is possible. However, it’s a complicated job, both in terms of technicalities involved in it, safety measures you must take and time required. Also, exhaust systems can be heavy and awkward to maneuver. A helping hand can really make the process go by a lot smoother and make it less stressful.
Contact Us
"*" indicates required fields
OUR SERVICES

PAINT PROTECTION FILM

WRAPPING

SERVICING


