- Servicing Case Studies
Common Mistakes to Avoid for Removing Your Custom Exhaust | GVE London – Blog
Learn how to safely remove a custom exhaust system with expert tips to avoid damage, use the right tools, and follow essential steps for success.
There are no two ways about it: removing a custom exhaust might sound simple—no pun intended—but it’s a complex process that involves far more than merely loosening some nuts and bolts. Stock exhausts involve a very specific installation/removal procedure; they tend to be a little easier. If you’ve decided to DIY this project, keep in mind that a few missteps can lead to unnecessary damage to, essentially, your car’s “vocal cords.”
To avoid that, in this blog, we’ll go through the most common mistakes and how best to avoid them.
Some Things to Consider Before Starting
Preparation is key. A custom exhaust might not follow the instructions provided in a vehicle’s manual. It’s best to have the plans for it with you beforehand, so you’re not going in blind. Gather all the tools you’ll need, ensure the environment you’re working in is safe, and make sure there is a solid, level surface for lifting the car. If you’re uncertain about removing a custom exhaust, it’s best to get help from professionals at a supercar service centre like GVE London, which has years of experience.
Let the System Cool
The exhaust system must be cold when you’re attempting to remove it. If you’ve recently driven your car, depending on your environment, you might need to let it sit for a couple of hours until it cools enough to touch with your bare hand.
Use the Right Tools
Attempting to remove a custom exhaust with basic household tools will not work, as they tend to use special clamps, bolts, and connectors that require very specific tools. Using the incorrect equipment can damage the exhaust, strip bolts, and cause unnecessary frustration. Before you start, research the system’s requirements and gather what you need. Like Batman, with enough prep time, anything can be done. Professionals who perform Supercar Servicing can provide you with specific tools required to complete the job.
Support the Exhaust Properly
The exhaust system can be quite heavy, and when it comes loose, it can often catch you off guard. Dropping it can harm you, the exhaust, or other parts of the car.
Using jack stands, blocks, or exhaust supports can hold the system steady and in place while you work. Also, avoid trying to hold it up with one hand while working with the other. This is both unsafe and unnecessary.
Read Also: Upgrade Your Supercar With Quicksilver Exhausts
Disconnect Wires and Sensors
The wiring and sensors inside a custom exhaust system often include features like exhaust gas temperature sensors, exhaust cutouts, and more. These components are sensitive and can get damaged easily. Follow these steps to avoid causing harm to them:
- Locate all the sensors before starting, including oxygen sensors or any temperature or pressure sensors.
- Disconnect all electrical connections to these sensors before trying to remove the exhaust.
- Label or mark each wire to make reinstallation easy; trust me, not doing so can eat up a lot of time.
- Be gentle and check for damage when working with sensors and wiring. Damaged sensors or wires can cause performance issues when the exhaust is reinstalled.
Lift the Vehicle Safely
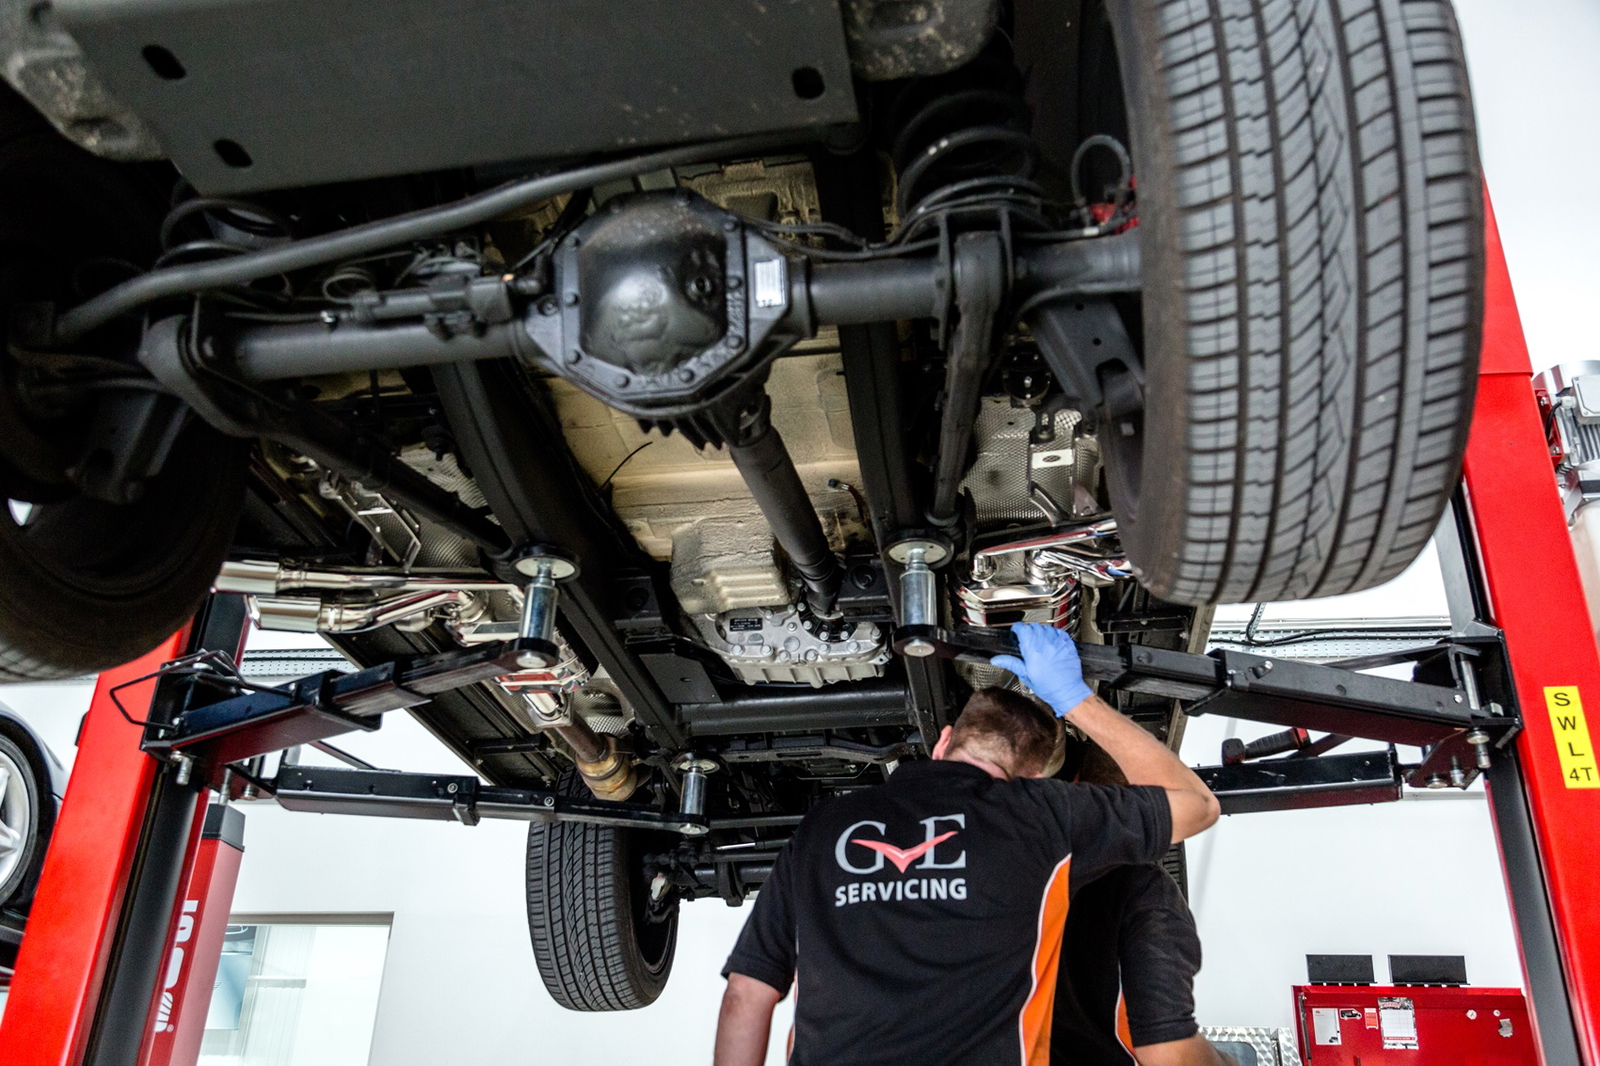
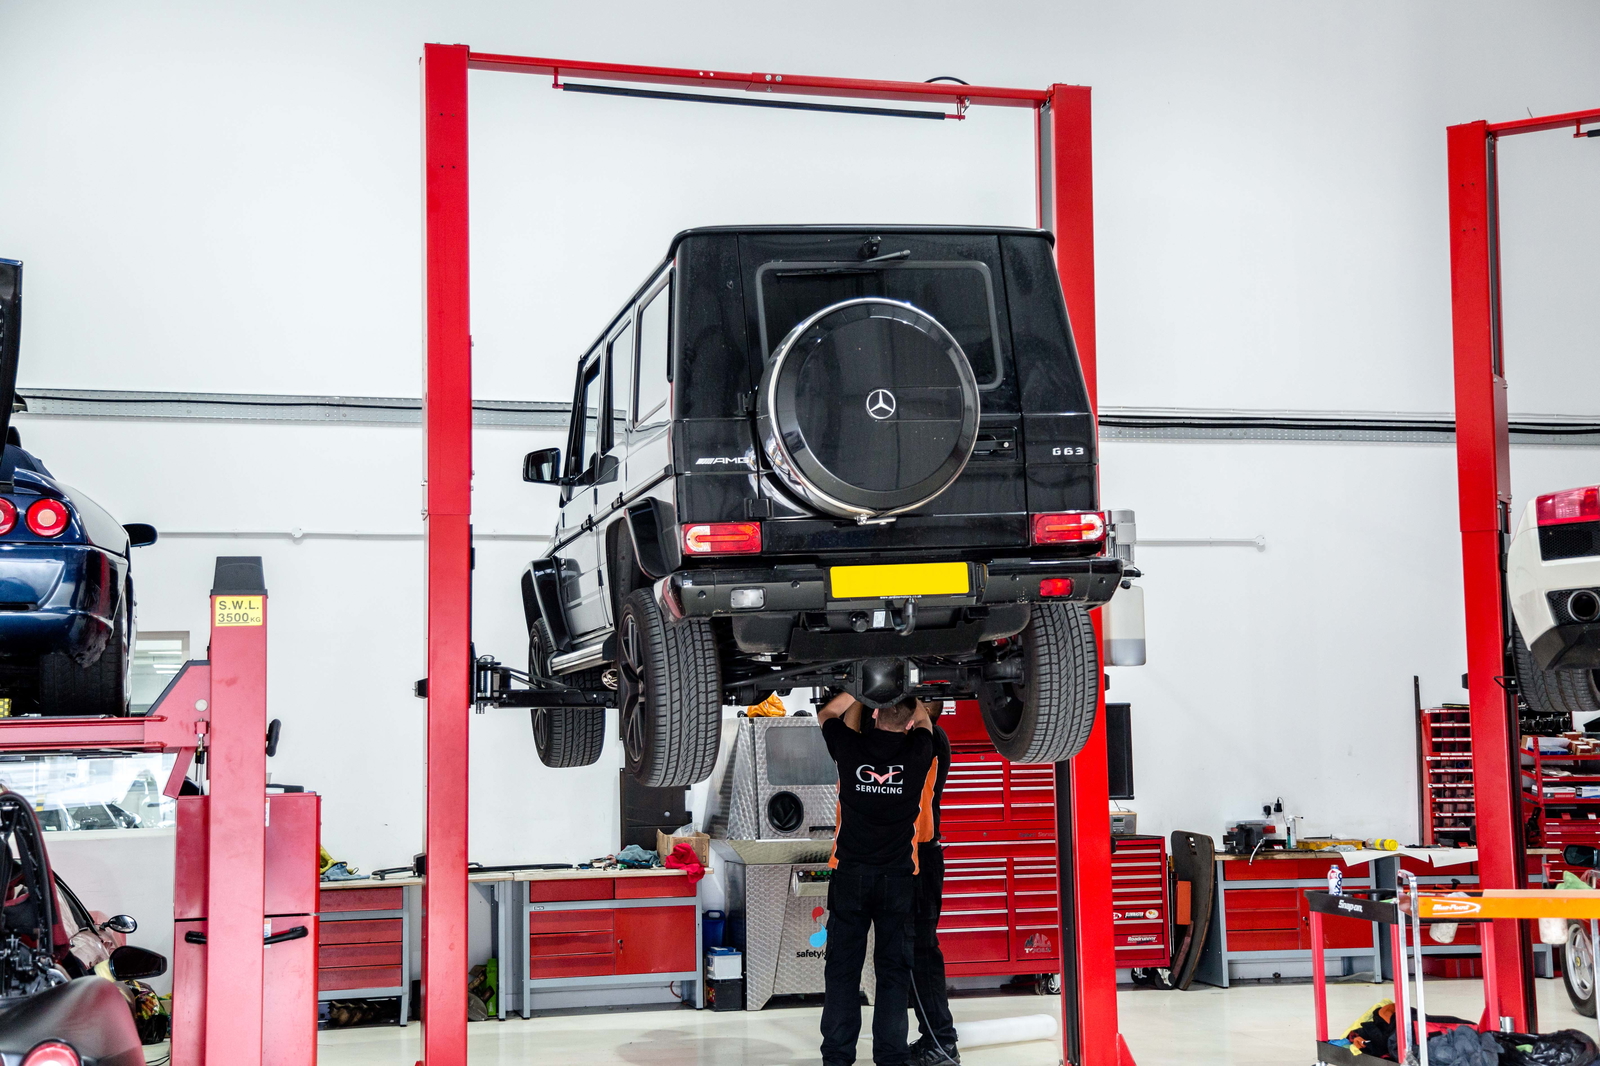
Working underneath a vehicle can be quite dangerous, as it’s a cramped space with little to no wiggle room. If you’re removing the exhaust by yourself, using a reliable hydraulic jack and sturdy jack stands is non-negotiable. Never solely depend on the jack for support. Ensure the stands are on level ground and are in proper contact with the vehicle’s frame. Take extra care when lifting the car, as an unbalanced lift can cause the vehicle to tip, which can be disastrous.
Take Your Time and Wear Protective Gear
Patience is key here, so take your time and perform each step carefully. There are several steps to removing a custom exhaust, from loosening bolts and cutting pipes to disconnecting sensors. Hurrying through the guidebook may only lead to additional work later on or even some damage.
Also, always wear protective gear. Exhaust systems can be sharp, and components like pipes can be quite heavy. Here is a list of items you would need:
- Heavy-duty gloves
- Safety goggles
- Long-sleeve shirt and pants
- Closed-toe shoes or boots
- Vehicle ramps or jack stands
- Penetrating oil or rust remover
- Face mask or dust mask
Follow the Manual
Last but not least, custom exhaust systems come with a specific set of instructions that must be followed diligently. These manuals are designed to provide guidance on the intricate details of the system, such as specific bolt sizes.
Conclusion
Removing a custom exhaust system requires the right game plan, tools, attention to detail, and expertise. By following the steps mentioned in this blog, you can avoid common mistakes. However, if you’re uncertain about your skill set or want a professional to take care of it, it’s best to take your vehicle to a supercar service centre like GVE London. They perform everything from supercar service and repairs to detailing and wrapping.
Frequently Asked Questions
Removing a custom exhaust requires special tools due to their intricate designs and complex components. A standard tool may not always be useful, and using the wrong tool forcefully will do more harm than good.
Usually, 1-2 hours after driving should be plenty of time, the exhaust pipes should be cooled down enough by then. Environmental factors do play a role here though. If you’re in a rush, though we recommend you shouldn’t be, use heat-resistant globes. It’s best to wait for your own safety.
If you come across rusted or stuck bolts, do not use excessive force. Apply a rust penetrant like PB Blaster or WD-40, and let it sit for 15-20 minutes to loosen the bolts and use a breaker bar for added leverage.
Contact Us
"*" indicates required fields
OUR SERVICES
PAINT PROTECTION FILM
WRAPPING
SERVICING
