Installation Guide for Custom Supercar Exhausts
Learn how to maintain and install custom supercar exhaust systems with this comprehensive guide. Discover tips for inspection, cleaning, temperature management, and more, ensuring optimal performance and longevity for your supercar.
Installation Guide for Custom Supercar Exhausts
Custom supercar exhaust systems are not only performance enhancements but also statements of individuality and style. However, to ensure their optimal performance and longevity, proper maintenance is essential. This guide provides a comprehensive overview of maintenance tips for custom supercar exhausts, empowering enthusiasts to preserve both functionality and aesthetic appeal.
Upgrading a supercar with a custom exhaust system is a popular way to enhance performance, achieve a unique sound, and make a personal statement. However, installing a custom exhaust requires precision and attention to detail. This comprehensive guide provides step-by-step instructions and tips for installing a custom exhaust system on a supercar.
Understanding Custom Supercar Exhaust Systems
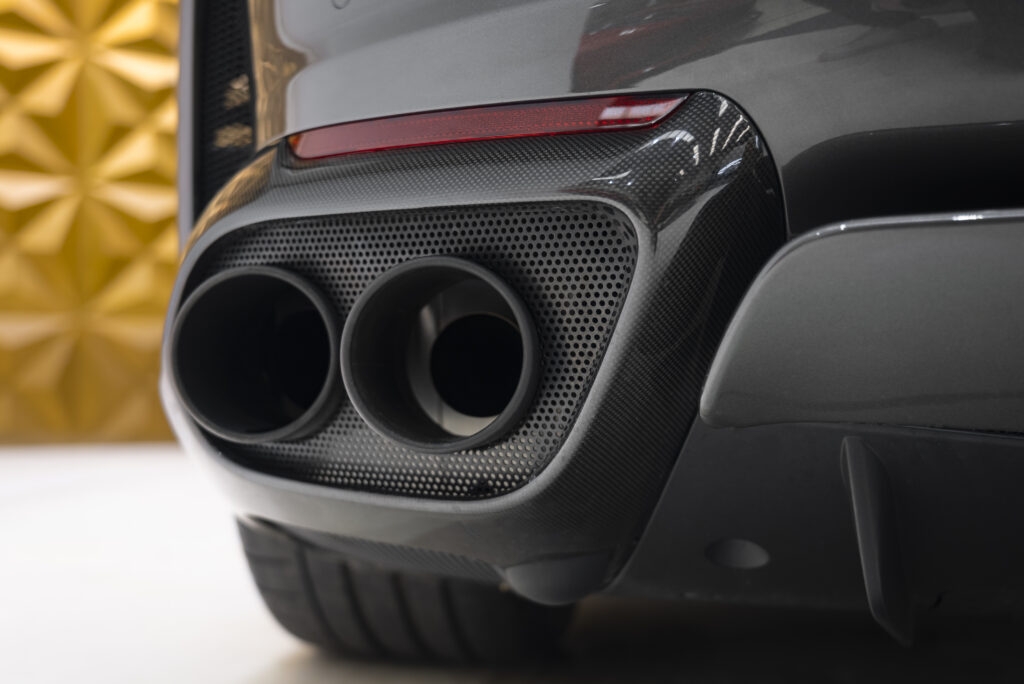
Custom supercar exhaust systems are designed to optimize exhaust flow, improve engine performance, and enhance the overall driving experience. These systems typically include headers, catalytic converters, mufflers, and tailpipes, all made from high-quality materials such as titanium or stainless steel for durability and performance.
Routine Inspection and Cleaning:
Regular inspection and cleaning are fundamental maintenance practices for custom supercar exhausts. Visual inspection for damage, such as cracks, rust, or loose fittings, should be done regularly. Use a flashlight to check internal surfaces of mufflers and catalytic converters for buildup or blockages. Consider using a specialized exhaust cleaning solution to remove carbon deposits and debris.
Performance Optimization:
Achieving peak performance from a custom supercar exhaust involves precise tuning. Dyno testing is often used to fine-tune exhaust flow and engine performance, allowing enthusiasts to customize the exhaust note to their liking.
Long-Term Care and Storage:
Storing a vehicle with a custom exhaust requires careful attention. It’s essential to store the vehicle in a dry, climate-controlled environment and apply rust inhibitors to exposed metal surfaces. For prolonged inactivity, periodic engine start-ups and battery maintenance are recommended.
Warranty and Aftercare:
Understanding the warranty terms provided by the manufacturer or installer is crucial. Proper documentation and adherence to guidelines ensure timely resolution of warranty claims.
Tools or Custom Supercar Exhaust Installation
Before you begin the installation process, gather all the necessary tools and materials. You will need:
- Custom exhaust system
- Jack stands or ramps
- Wrench set
- Socket set
- Safety goggles
- Ear protection
- Gloves
- Penetrating oil
Step 1: Preparation
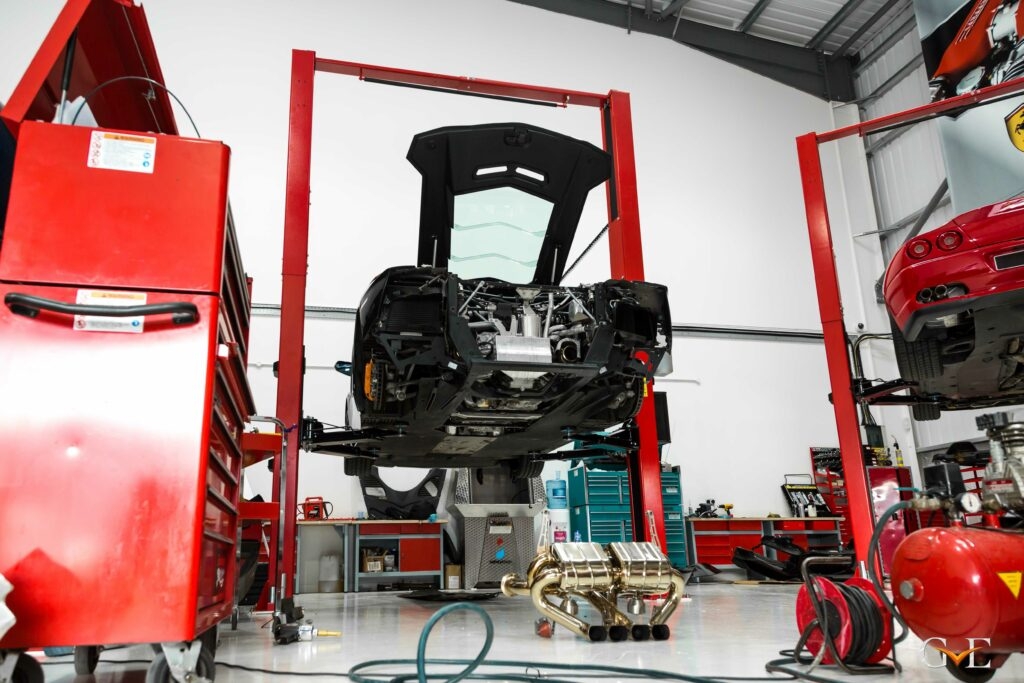
Preparation is key to ensuring a safe and successful installation of a custom supercar exhaust system. Follow these detailed steps to prepare for the installation:
- Choose a level and stable surface to park your car. This will ensure that the car remains stationary during the installation process.
- Before lifting the car, engage the parking brake to prevent it from rolling.
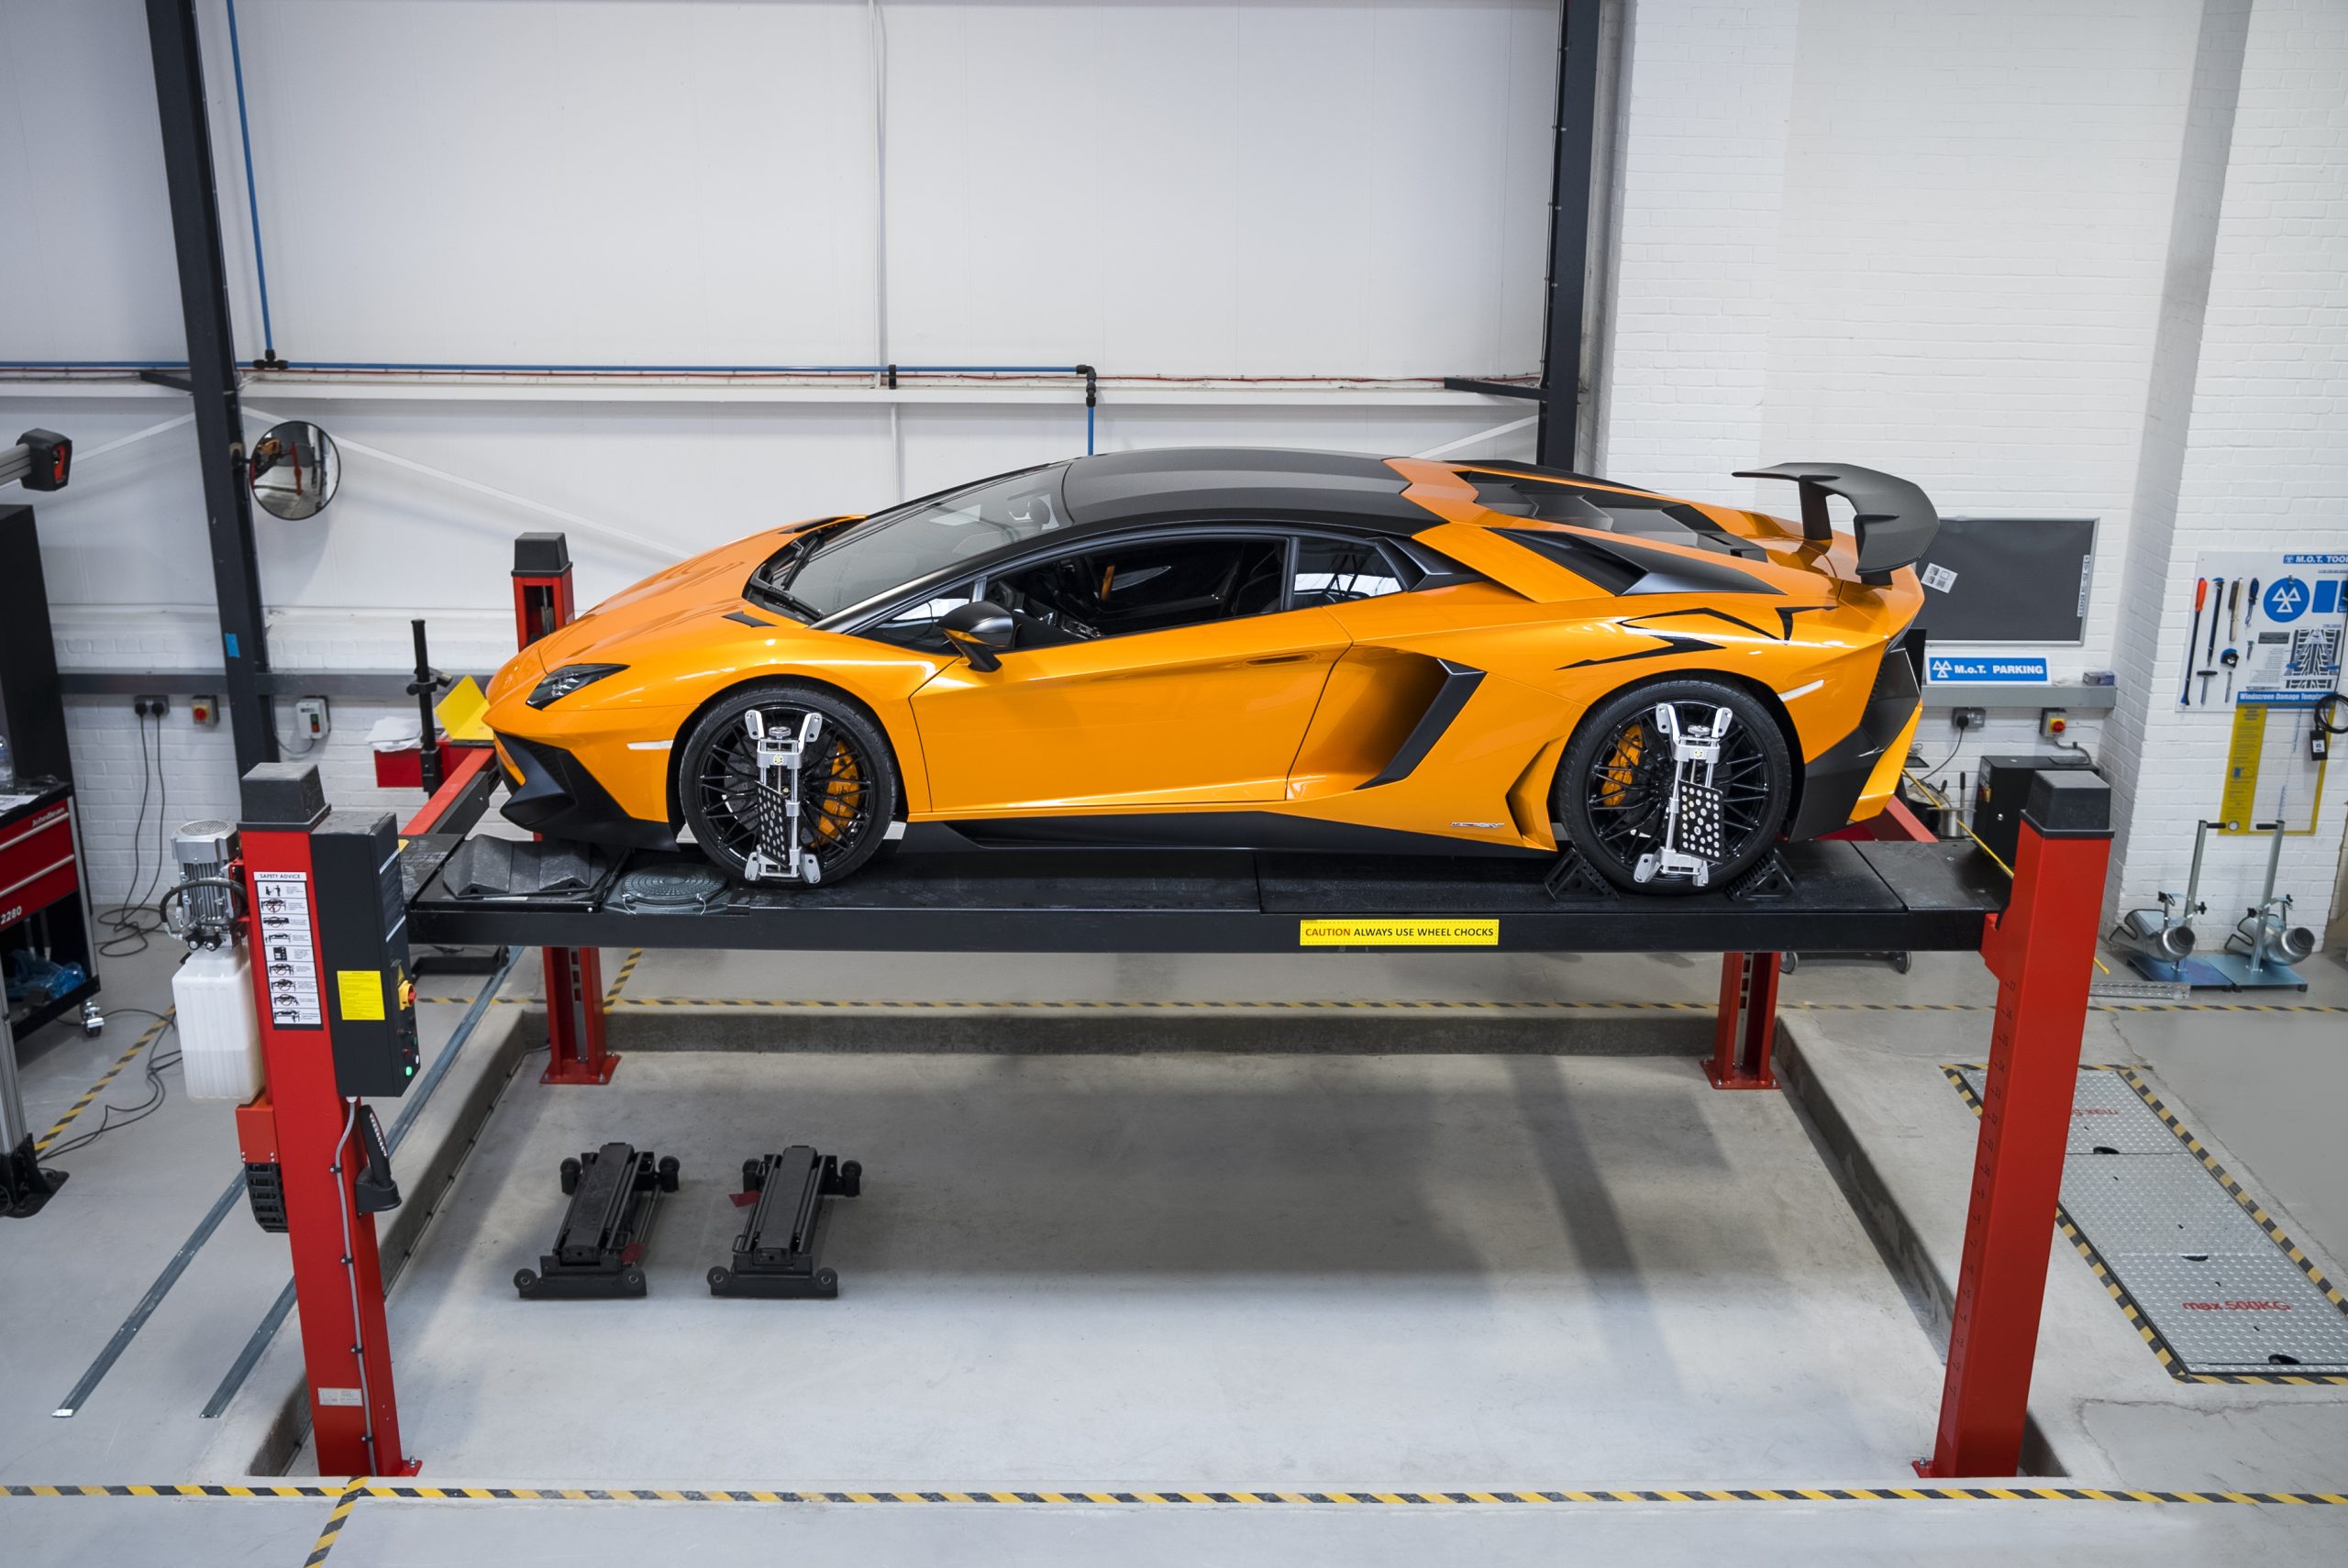
- Use either jack stands or ramps to elevate the car. If using a jack, place it under the designated lift points of the car and lift it carefully. Once lifted, secure the jack stands under the car’s frame for added safety. If using ramps, drive the car onto the ramps carefully.
- Put on safety goggles to protect your eyes from debris, ear protection to minimize noise exposure, and gloves to protect your hands during the installation process.
- Ensure you have all the necessary tools and materials required for the installation, including the custom exhaust system, wrench set, socket set, penetrating oil, and any other tools specified by the manufacturer.
Step 2: Removal of Old Exhaust System
Removing the old exhaust system is a critical step in installing a custom supercar exhaust. Here’s a detailed elaboration of the process:
- Crawl under the car and locate the exhaust system. Identify the connection points, including where the exhaust pipes connect to the headers or catalytic converters, as well as any hangers or supports along the length of the exhaust.
- Before attempting to loosen any bolts or clamps, apply penetrating oil to any rusted or corroded parts. Allow the oil to penetrate for a few minutes to help loosen the connections
- Using a wrench or socket set, loosen and remove the bolts or clamps that secure the exhaust system to the headers or catalytic converters. You may need to support the exhaust system with a jack or have someone help you hold it in place as you remove the fasteners.
- Once all the bolts and clamps are removed, carefully lower the old exhaust system from the car. Be mindful of any remaining hangers or supports that may still be attached.
- With the old exhaust system removed, take the time to inspect the mounting points and surrounding areas for any signs of damage or rust. Clean the mounting points and surrounding areas to prepare them for the installation of the new exhaust system.
Step 3: Installation of New Custom Exhaust
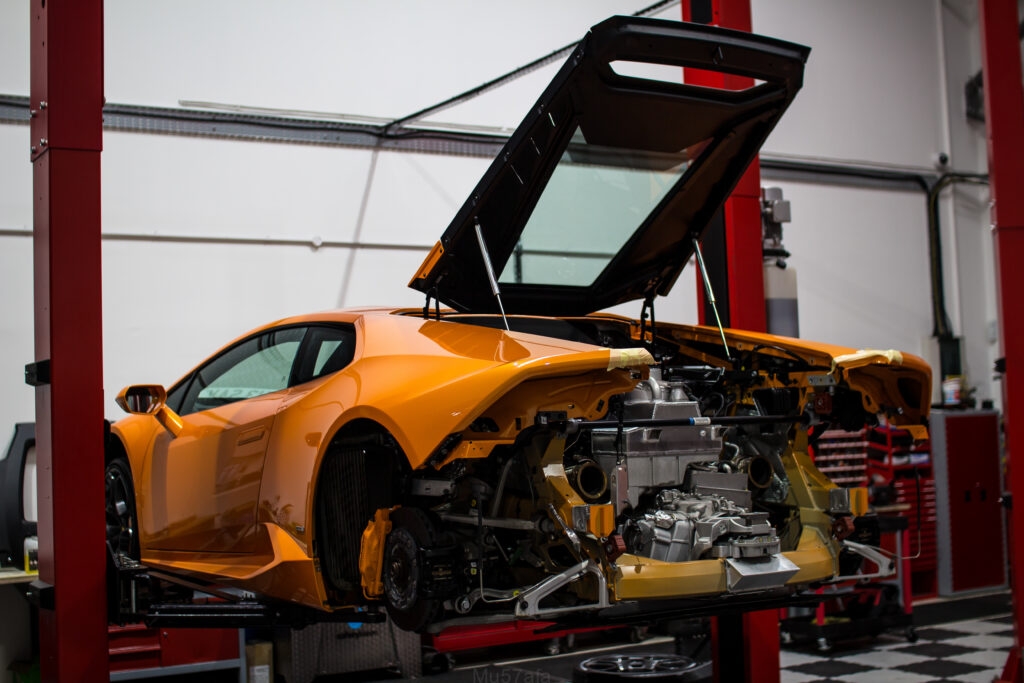
Installing a new custom exhaust system is an exciting step towards enhancing your supercar’s performance and sound. Here’s a detailed elaboration of the installation process:
- Carefully position the new custom exhaust system under the car, ensuring that it aligns correctly with the mounting points and hangers. It may be helpful to have a second person assist you with this step to ensure the exhaust is properly aligned.
- Using new gaskets and hardware provided with the custom exhaust system, connect the exhaust pipes to the headers or catalytic converters. Ensure that the gaskets are positioned correctly to create a tight seal. Hand-tighten the bolts to hold the exhaust in place.
- Once the exhaust is loosely attached, adjust its position as needed to ensure proper alignment and clearance. Ensure that the exhaust is not touching any other components of the car, as this could cause rattling or damage.
- With the exhaust properly aligned, use a wrench or socket set to tighten all bolts and clamps securely. Start from the headers or catalytic converters and work your way back to the tailpipes, ensuring that each connection is tight and secure.
- After the exhaust system is fully installed, start the car and check for any exhaust leaks. Listen for any unusual noises or sounds that may indicate a leak. If a leak is detected, recheck the connections and tighten any loose bolts or clamps.
Step 4: Checking for Leaks
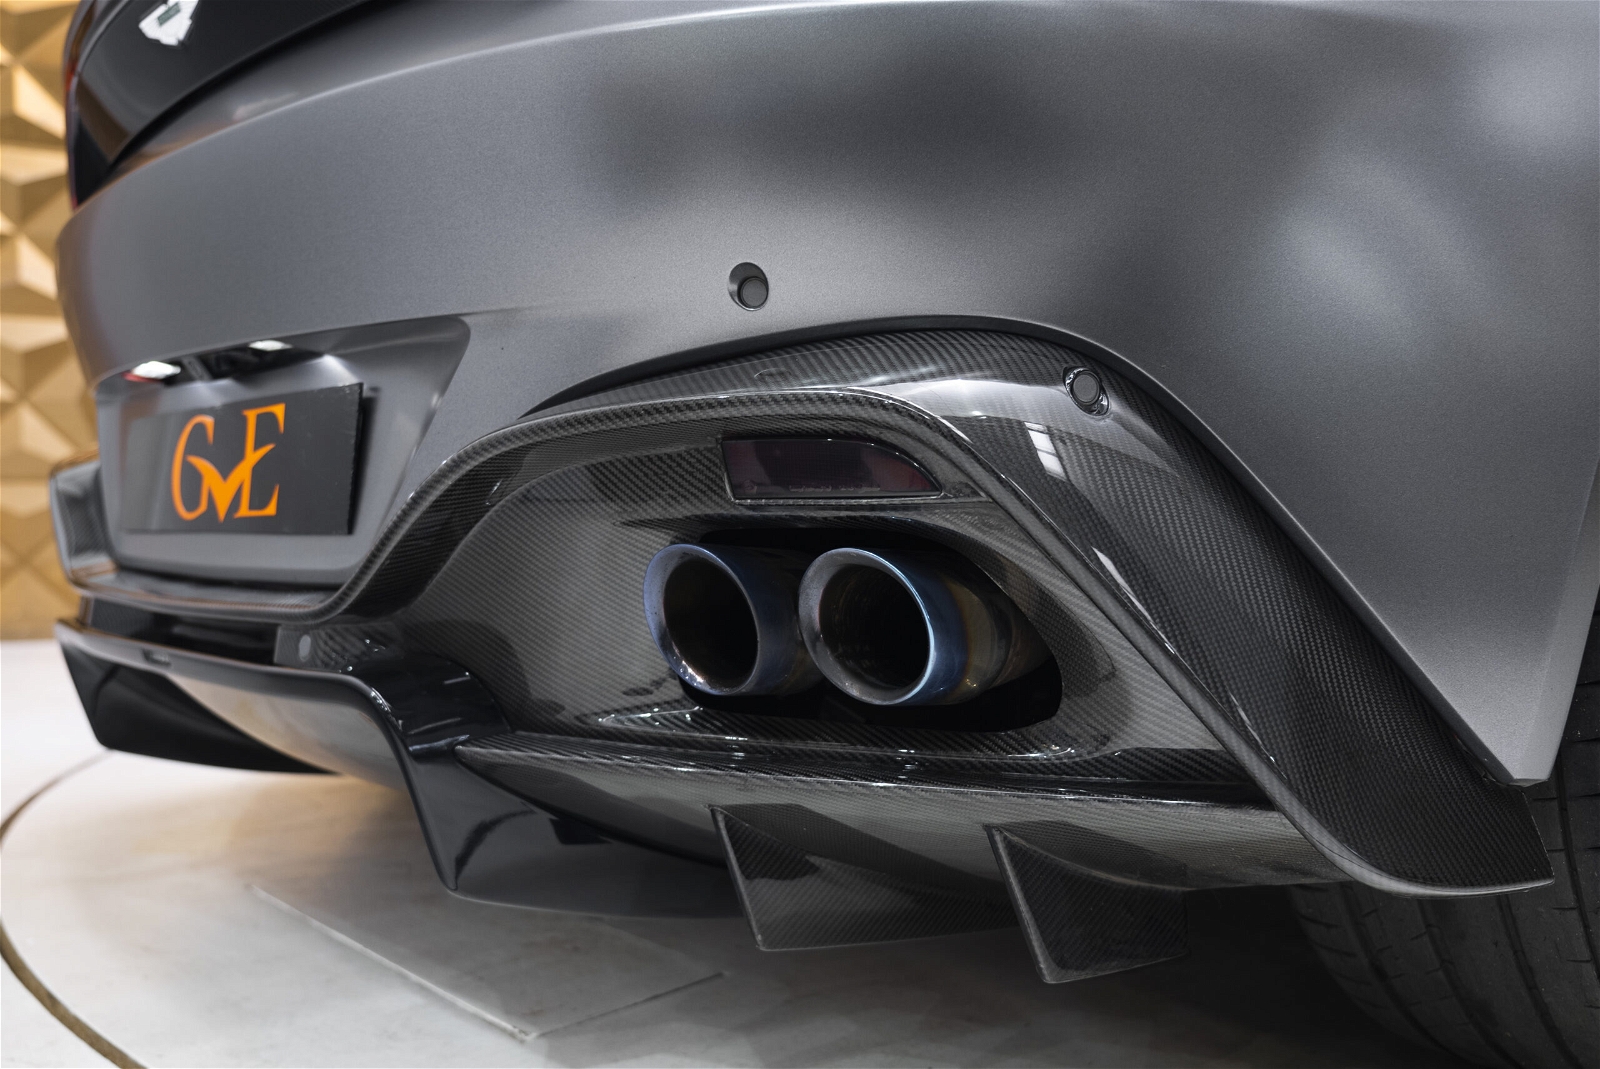
Checking for exhaust leaks is crucial to ensure the proper installation of a new custom exhaust system. Here’s a detailed elaboration of how to check for leaks:
- Start the engine and let it idle for a few minutes to warm up the exhaust system.
- While the engine is running, listen carefully for any unusual noises or sounds coming from the exhaust system. Exhaust leaks often produce a noticeable hissing or popping sound. Pay particular attention to the connections between the exhaust pipes and headers or catalytic converters, as well as any seams or joints along the exhaust system.
- Another method to check for exhaust leaks is to spray a soapy water solution onto the connections and seams of the exhaust system while the engine is running. If there is a leak, the soapy water will bubble as the exhaust gases escape.
- If a leak is detected, turn off the engine and allow it to cool before rechecking the connections. Use a wrench or socket set to tighten any loose bolts or clamps that may be causing the leak. It’s essential to ensure that all connections are tight and secure to prevent future leaks.
- Once you have tightened any loose connections, start the engine again and repeat the listening and soapy water test to ensure that the leak has been resolved. If the leak persists, inspect the connections and gaskets for any signs of damage and replace them if necessary.
Final Steps:
Once you’ve finished working under the car, it’s time to lower it from the jack stands or ramps. Carefully remove the stands or drive the car off the ramps, ensuring a smooth and controlled descent. Before hitting the road, double-check that the car is securely on the ground, with all four wheels firmly planted. This precaution is crucial for safe driving and preventing any accidents or damage to the vehicle.

Conclusion:
Maintaining a custom supercar exhaust system is essential for preserving its performance and longevity while ensuring a unique driving experience. By following the maintenance tips outlined in this guide, enthusiasts can protect their investment and enjoy the benefits of a custom exhaust for years to come.
GVE London, a leading luxury car specialist based in London, offers expert maintenance and installation services for custom supercar exhaust systems. With a team of experienced technicians and a state-of-the-art facility, GVE London provides comprehensive care for custom exhaust systems, including inspection, cleaning, and tuning.
Whether you’re looking to upgrade your supercar with a custom exhaust system or need professional maintenance and care, GVE London is your go-to destination. Their commitment to excellence and passion for luxury cars ensure that your custom exhaust system is installed and maintained to the highest standards.
Check out our video on Aston Martin Respray or explore our expert car assistance here.
Frequently Asked Questions
Regular inspection and cleaning are recommended at least every six months or more frequently if you drive in harsh conditions. Visual inspection for damage and buildup should be done regularly, and cleaning with a specialized exhaust cleaning solution can be done as needed.
Installing a custom exhaust system can be complex and requires precision. While some enthusiasts may choose to install it themselves, it’s recommended to have it done by professionals to ensure proper fitment and performance.
Protective coatings and sealants help safeguard the exhaust system from corrosion, environmental damage, and heat. Ceramic coatings offer excellent heat resistance and durability, while exhaust sealants create a protective barrier against moisture and contaminants, prolonging the life of the exhaust system.
Contact Us
"*" indicates required fields


