- Servicing Case Studies
Process Behind Removing a Custom Exhaust from a Supercar| GVE London – Blog
Learn how to safely remove a custom supercar exhaust with expert tips on tools, preparation, and steps for optimal performance and protection of your vehicle.
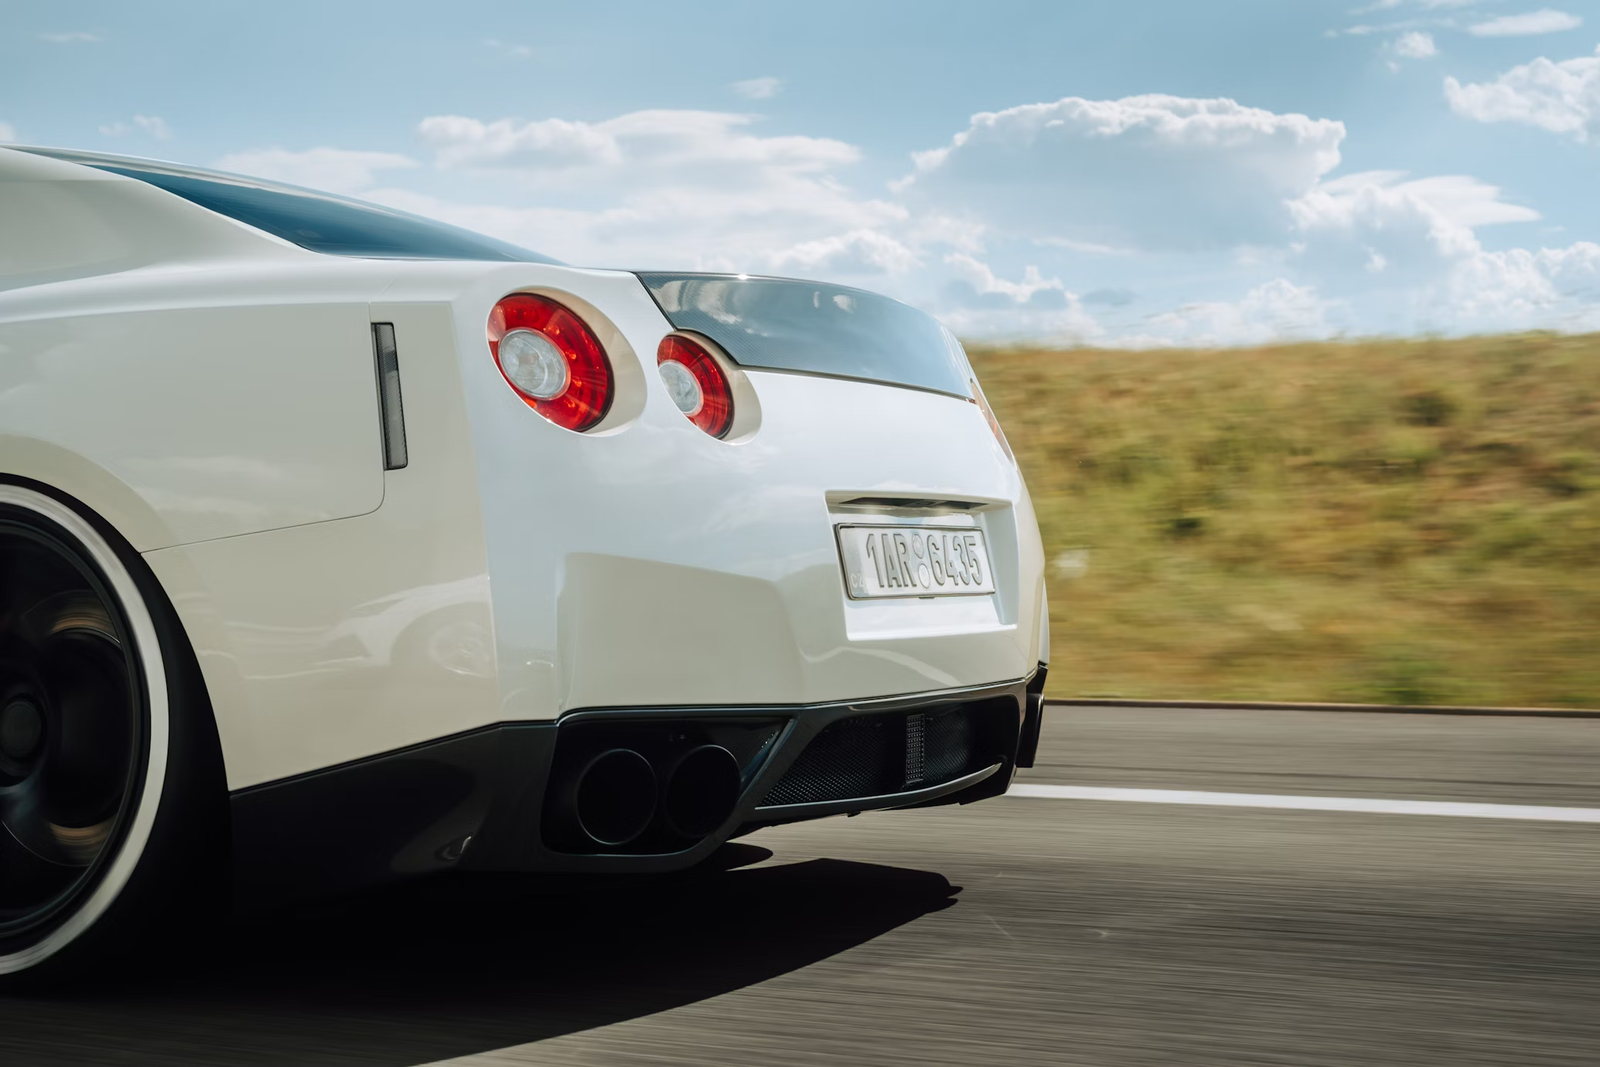
When it comes to supercars, the symphony of sound produced by the exhaust system is often as important as its performance. If you want to upgrade the exhaust system in your supercar, then Quicksilver Exhausts are the ideal option for you.
Whether you’re looking to upgrade to a different system, make repairs, or revert to the stock setup, removing a custom exhaust from a supercar is a meticulous process. In this blog post, we’ll take you through the steps involved in safely and effectively removing custom supercar exhausts, ensuring that your prized possession remains in top condition.
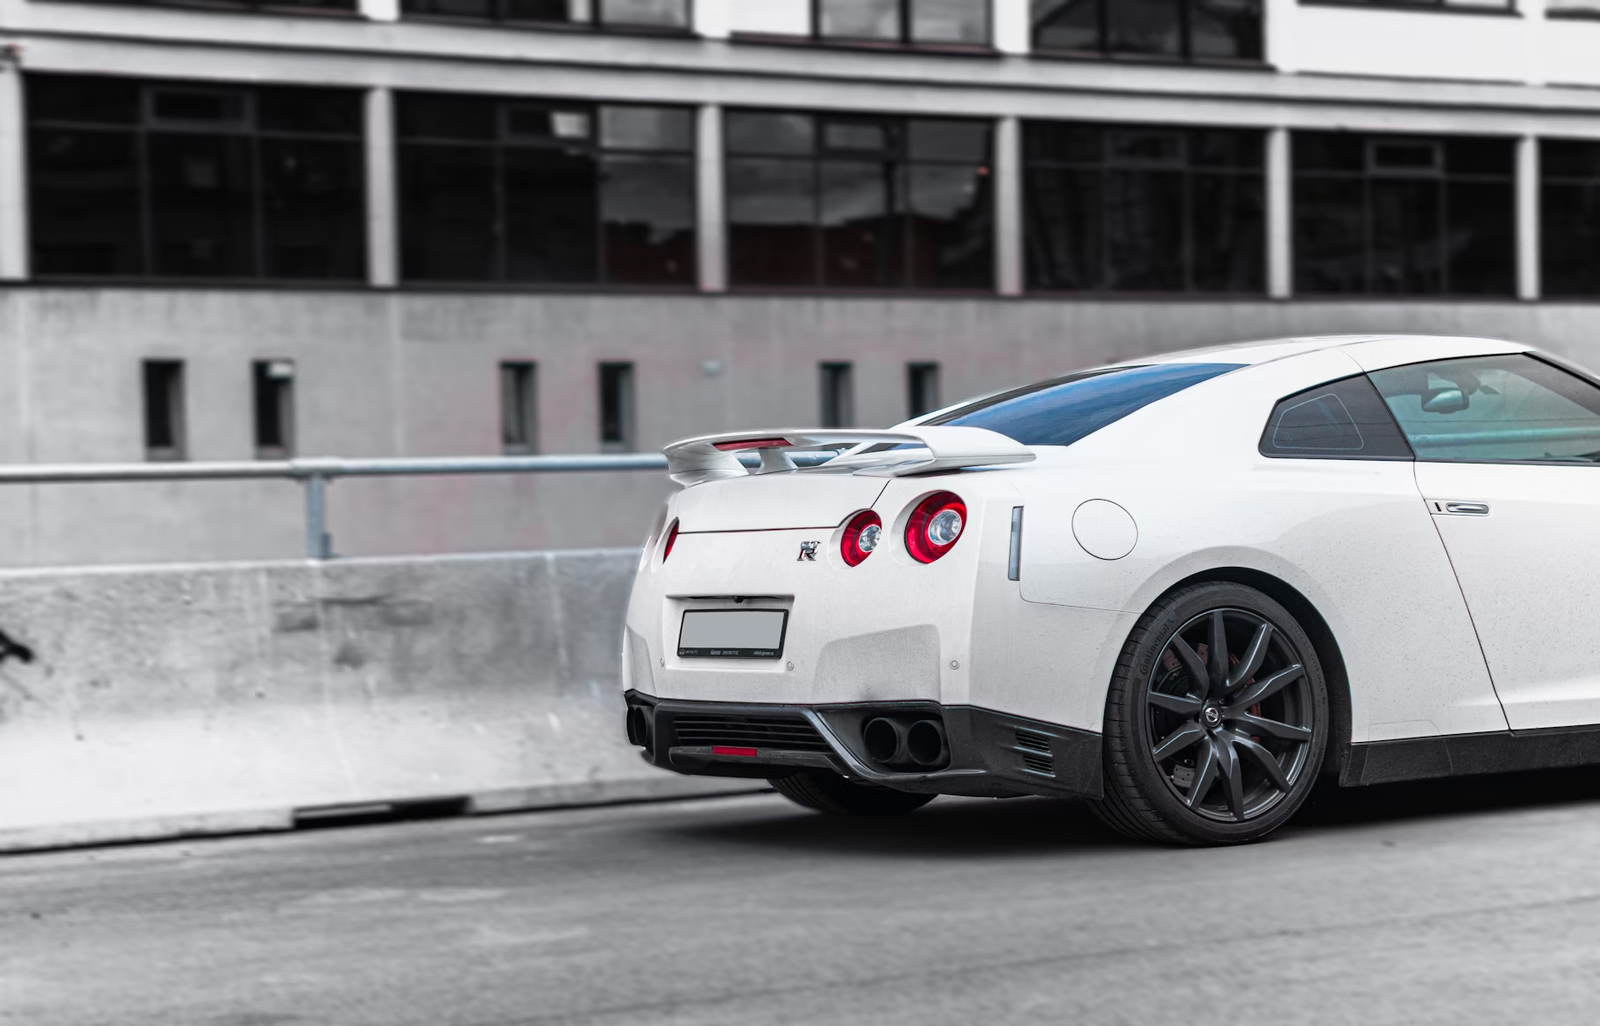
Why Remove a Custom Exhaust?
Before we dive into the process, let’s consider some common reasons for removing a custom exhaust:
- Performance Upgrade: You may want to switch to a more advanced exhaust system that better suits your performance goals for a supercar upgrade.
- Sound Preference: Custom exhausts can significantly alter the sound profile of a supercar, and you might want to return to a more subdued tone.
- Damage or Wear: If the exhaust has been damaged or is experiencing wear and tear, it might need to be replaced.
- Legal Compliance: Some custom exhausts may not comply with local noise regulations, necessitating removal.
Regardless of the reason, it’s crucial to approach the removal process with care and you should visit a supercar service centre like GVE London to make sure that the process can take place properly without any errors.
Tools and Materials Needed to Remove Supercar Exhausts
If you have got a custom exhaust fitted in your supercar, then the performance and sound are surely going to be better. However, you may want to get it removed to try something new or if you want to sell your supercar. Before starting the removal process, gather the necessary tools and materials:
- Jack and Jack Stands: To elevate the vehicle safely.
- Socket Set and Wrenches: For loosening bolts and clamps.
- Pry Bar: To help remove stubborn components.
- Rubber Mallet: To gently tap parts loose without damaging them.
- Safety Glasses and Gloves: For personal protection.
- Shop Towels: To clean up any spills and keep your workspace tidy.
Step-by-Step Process
1. Preparation and Safety First
Start by ensuring the vehicle is on a flat surface. Engage the parking brake and place wheel chocks behind the rear wheels to prevent any movement. Next, disconnect the battery to eliminate any electrical issues or short circuits while working.
2. Lift the Vehicle
Using a jack, lift the supercar and secure it with jack stands. Ensure it’s stable before crawling underneath. This step is crucial for accessing the exhaust system safely.
3. Locate the Exhaust Components
Identify the various parts of the custom exhaust. A typical exhaust system consists of headers, catalytic converters, mufflers, and tailpipes. Take note of how everything is connected, as this will help during reinstallation.
4. Loosen Clamps and Bolts
Using your socket set, carefully loosen the clamps and bolts that secure the exhaust components. Start from the back of the exhaust and work your way forward. If bolts are rusted or stuck, applying penetrating oil can help loosen them. Be cautious to avoid stripping the bolts.
5. Disconnect Oxygen Sensors
If your supercar is equipped with oxygen sensors, carefully disconnect them. Make sure to keep track of these sensors, as they are essential for monitoring emissions and optimizing performance.
6. Remove the Exhaust Components
Once everything is disconnected, you can start removing the exhaust components. It’s advisable to have a friend help, as some sections can be heavy. Gently wiggle the pieces to free them from their mounting points, using a pry bar if necessary.
7. Inspect for Damage
With the custom exhaust removed, take a moment to inspect the components and surrounding areas. Look for any signs of damage or corrosion on the exhaust hangers and brackets. This is also an excellent time to clean the area and check for leaks in the headers or other parts of the exhaust system.
8. Reinstallation or Next Steps
Once the custom exhaust is removed, you can either proceed with the installation of a new system or revert to the factory setup. If you’re installing a new exhaust, ensure all components fit correctly and securely before tightening everything down.
9. Reconnect Oxygen Sensors and Battery
If you’ve disconnected oxygen sensors, reconnect them according to the earlier notes. Once everything is in place, reconnect the battery and ensure all electrical connections are secure.
10. Lower the Vehicle and Test
Carefully lower the vehicle and remove the jack stands. Start the engine and listen for any unusual sounds. If everything sounds good, take the car for a short drive to ensure proper performance and functionality.
Conclusion
Removing a custom exhaust from a supercar requires careful planning, the right tools, and a methodical approach. By following these steps, you can ensure that the process goes smoothly and that your vehicle remains in peak condition.
Whether you’re upgrading your exhaust for performance, sound, or compliance reasons, taking the time to do it right will pay off in the long run. Your supercar deserves the best, and you must visit the GVE London supercar service centre to get the exhaust removed. You also get bodyshop repairs, detailing, wrapping, custom modifications, etc. here for your supercar.
Frequently Asked Questions
Yes, you’ll need basic tools like a socket set, wrenches, a jack and jack stands, and potentially a pry bar or rubber mallet. Safety gear, like gloves and goggles, is also important.
If you have some mechanical knowledge and the right tools, it can be done safely. However, if you’re unsure, it’s advisable to consult a professional services centre like GVE London.
The time required can vary depending on the vehicle and your experience level, but generally, it can take anywhere from one to three hours.
Contact Us
"*" indicates required fields
OUR SERVICES
PAINT PROTECTION FILM
WRAPPING
SERVICING
