- Servicing Case Studies
Simple Seat Fix to McLaren 570s | GVE London – Blog
Fix common reclining seat issues in your McLaren 570s with our simple guide. Learn how to diagnose, clean, adjust, and maintain for smooth performance.
Being the owner of the McLaren 570s, you have an idea about this exotic, top-performing vehicle with skilful engineering. But, even with the high-end cars, it encounters the smaller issues for the time being. One of the commonest issues faced by numerous car owners with this luxury car is its reclining seat mechanism that at times gets stuck or fails to operate seamlessly.
Luckily, you can give a visit to a supercar service centre that follows a few specific steps to get this issue resolved. In our post today we are going to share the simple seat fix for your McLaren 570s so that you do not face this issue down the lane.
Diagnosing the Problem
Before diving headfirst into this reclining issue, it proves important to identify the root cause of the issue with your reclining seat. Initially, here are the common signs that the car owner should look out for:
- Stuck Reclining Mechanism: Sometimes the seat would recline partially or not completely.
- Uneven Recline: Only a single side of the seat reclined further down as compared to the others.
- Unusual Noises: Squeaking as well as grinding noises when you try adjusting the seat.
Acknowledging such issues with your McLaren 570s will help you check out the distinctive issues efficiently.
Tools and Materials Needed
Before we initiate the simple seat fix for McLaren 570s, we bring in the required materials and tools. It will make the entire process seamless and highly efficient.
- Screwdrivers: Both Phillips and flathead.
- Allen Wrenches: To adjust bolts.
- Lubricant: Similar to the ones like the silicone spray or grease.
- Cleaning Cloth: For wiping off excess lubricant or debris.
- Flashlight: To inspect hard-to-see areas.
Step 1: Preparation of the Workspace
- Ensure Safety: We start by parking the McLaren 570s onto a level surface while engaging the parking brakes. We then disconnect the batteries to avoid any potential electrical issues.
- Remove Obstructions: We remove every item from the area of the seat to get sufficient space to start with McLaren servicing.
Step 2: Inspecting the Reclining Mechanism
- Locate the Mechanism: We locate the reclining mechanism under the seat. It comprises an array of levers and gears linked for adjusting the handles.
- Check for Obstructions: We ensure that no instructional items and debris are coming between our jobs. Dirt and dust can sometimes cause this mechanism to get stuck.
- Examine for Damage: We search for visible signs of damage. Bent or broken parts require professional replacement.
Step 3: Cleaning the Reclining Mechanism
- Wipe Down Components: We take a cleaner cloth for removing the dirt and dust jamming the reclining mechanism.
- Apply Lubricant: We then proceed to apply lubricant to the movable parts of this mechanism. We refrain from over-lubricating the area since it would allure further dirt and debris.
- Work the Mechanism: To distribute the lubricant evenly, we move the seat back and forth, ensuring its seamless operation.
Step 4: Adjusting the Reclining Mechanism
- Check Adjustments: If the reclining seat mechanism is adjustable, we can use the wrenches to make the required adjustments, as this could help when the seat fails to recline appropriately.
- Test the Recline Function: After the appropriate adjustments, it is important to test the functioning of the reclining seat through the button or the handle, ensuring an even and smooth reclining mechanism.
Step 5: Reassemble and Test
- Reattach Any Removed Parts: We also reattach any parts we removed for accessing the mechanism.
- Reconnect the Battery: After reassembling everything, we proceed by reconnecting the battery.
- Test the Seat: Remain in your seat while testing the reclining function completely. We ensure that it operates seamlessly and the seat is locked into the much-required position.
Step 6: Additional Tips
- Regular Maintenance: As a preventative measure, we aim to regularly clean and lubricate the reclining mechanism for maintaining your McLaren 570s.
- Avoid Overloading: We ensure that no excessive weight is placed on the seat, as this would overburden the entire reclining mechanism.
- Professional Help: If we locate any possible issues or notice any damage, we will notify you to prevent further issues.
Conclusion
Getting the seat fixed for the McLaren 570s is a seamless task, especially with the use of the appropriate tools and approaches. Our simple fix can address the general issues related to the reclining mechanism and ensure seamless operation of your seat. Proper upkeep and on-time adjustments can help prevent any possible issues and ensure that your supercar remains in pristine condition.
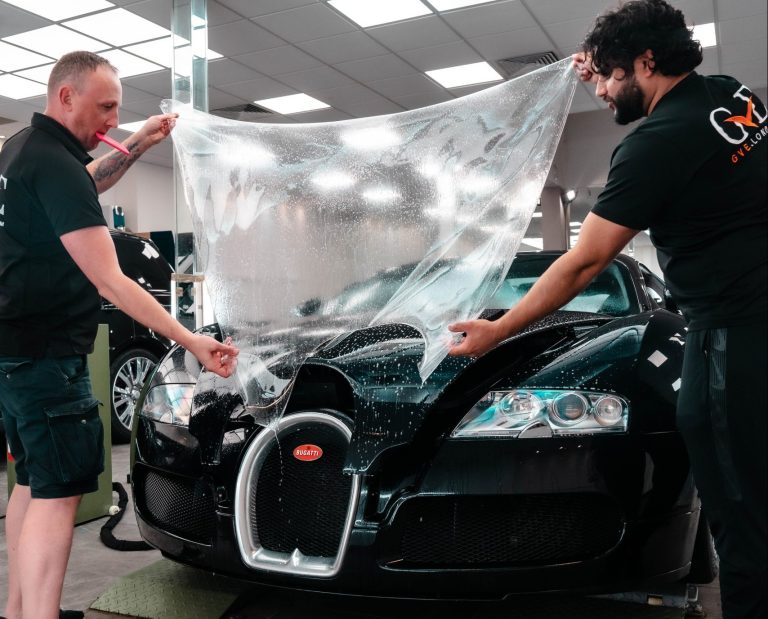
If you need help handling this fix for your McLaren 570s, our supercar service centre at GVE London can ensure that we do it professionally. We also offer maintenance, bodyshop repair, PPF Installation, and vehicle wrapping services to ensure that your exotic car operates seamlessly.
Frequently Asked Questions
In case, after cleaning and lubricating, the seat still develops problems, then it means that there is a damaged or worn-out part within the reclining mechanism. Inspect for any bruises, scratches, or signs of incorrect wheel placement. However, if you cannot determine the problem, it is safer to seek the help of a professional car mechanic for diagnosis.
If you want the reclining mechanism to function perfectly, it is advisable to service the chair every 6 to 12 months. It should also be cleaned frequently and lightly oiled to prevent dust from accumulating and the mechanism from malfunctioning.
Use auto-grade silicone spray or white lithium grease when lubricating automotive parts and surfaces. These lubricants are used for metal-to-metal applications and can withstand the environment inside the seat mechanism.
It is also important to check the reclining handle by pulling on it since a loose or unresponsive handle may be a sign that the handle is disconnected from the mechanism or internally damaged. If the issue continues, the handle or the parts where it interfaces with the appliance may require repair or replacement. Seek the service of a professional to do a thorough check and fix it if it has problems.
Contact Us
"*" indicates required fields
OUR SERVICES
PAINT PROTECTION FILM
WRAPPING
SERVICING
