

Paint Protection Film (PPF) is an essential investment for preserving your car’s paint and maintaining its pristine appearance. While professional installation is an option, applying PPF yourself can save money and give you greater control over the process. In this guide, we’ll provide detailed step-by-step instructions to help you achieve a professional-quality result when applying PPF to your car.
Step 1: Gather Your Materials
Before you begin, make sure you have all the necessary materials and tools on hand. This includes:
– Paint Protection Film (pre-cut or bulk roll)
– Spray bottle filled with a mixture of water and a few drops of mild soap
– Squeegee or application tool
– Microfiber towels
– Heat gun or hairdryer
– Isopropyl alcohol
– Utility knife or cutting tool
– Masking tape
– Clean workspace with good lighting
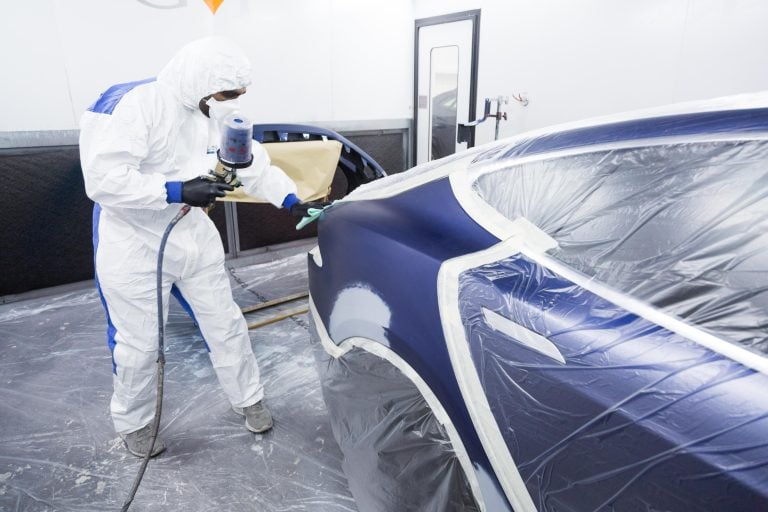
Step 2: Prepare Your Vehicle
Start by washing your car thoroughly to remove any dirt, grime, or wax residue from the surface. Pay close attention to areas where the PPF will be applied, ensuring they are clean and free of debris. Use isopropyl alcohol to wipe down these areas, removing any remaining contaminants and ensuring a smooth surface for adhesion. If necessary, use masking tape to protect surrounding areas that won’t be covered by the PPF.
Step 3: Cut and Shape the PPF
If you’re using a bulk roll of PPF, carefully measure and cut the film to fit the specific areas of your car. Alternatively, you can opt for pre-cut PPF kits tailored to your vehicle’s make and model, which can simplify the installation process. Lay the PPF over the target area and use masking tape to hold it in place while you position and adjust the film for optimal coverage.
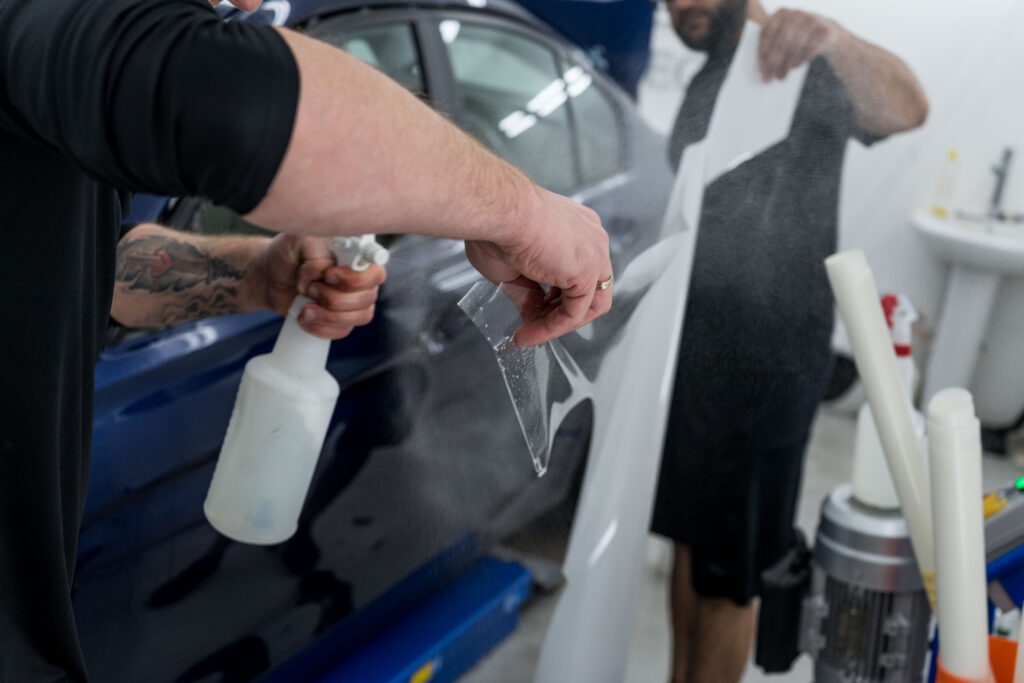
Step 4: Apply Soapy Water Solution
To aid in the installation process, spray a liberal amount of the soapy water solution onto the surface where the PPF will be applied. This lubricates the film, allowing you to reposition it as needed and prevents it from sticking prematurely. Be generous with the soapy water to ensure smooth and seamless application of the PPF.
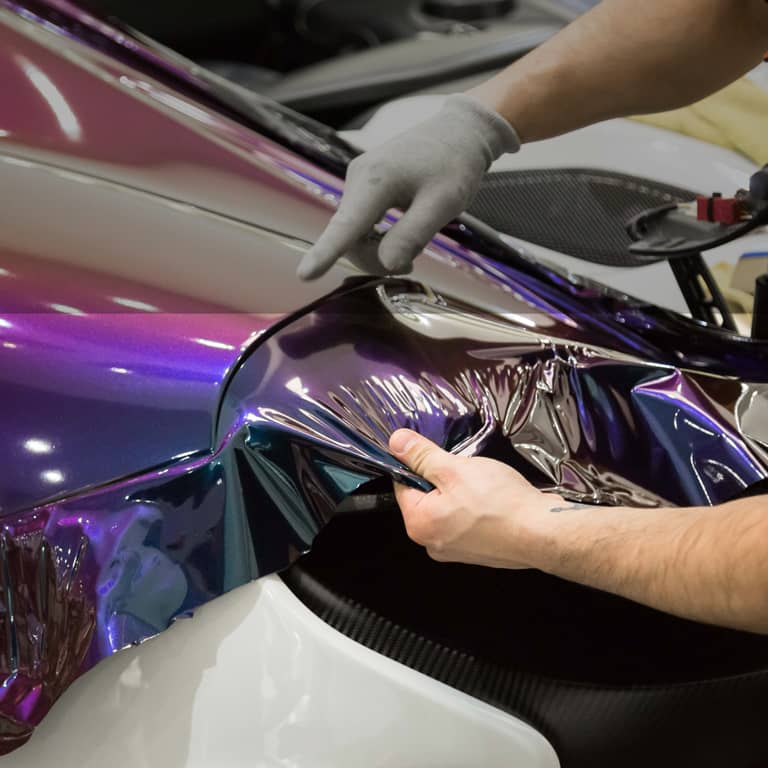
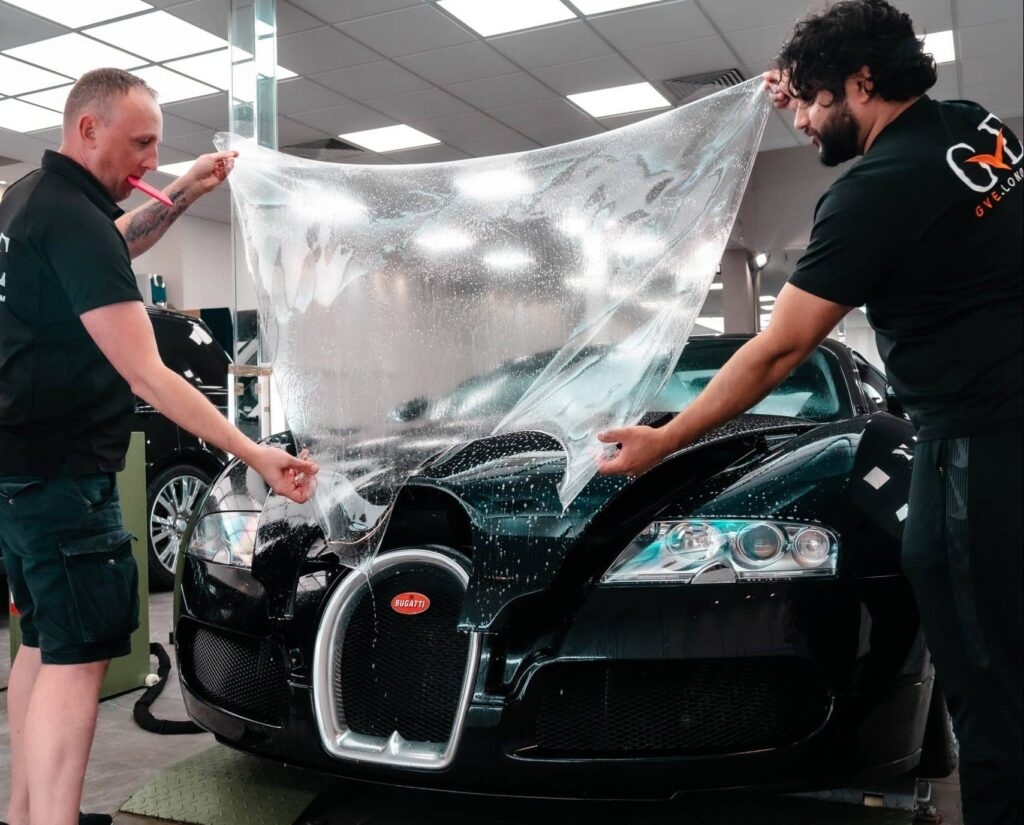
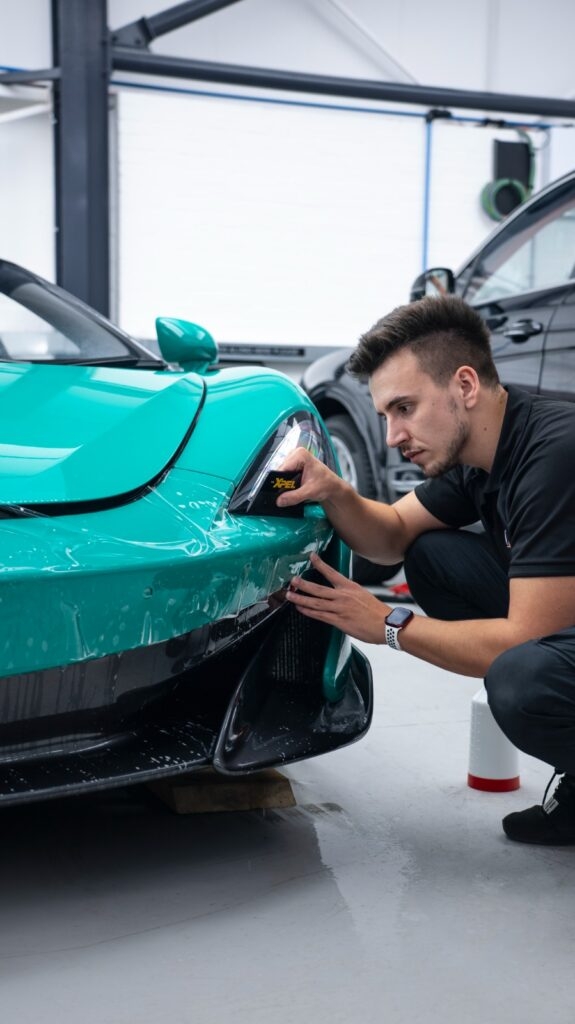
Step 5: Position and Smooth Out the Film
Carefully position the PPF over the designated area, ensuring proper alignment and coverage. Use your hands or a squeegee to gently smooth out the film, starting from the center and working your way outward. This helps to remove any air bubbles or wrinkles and ensures a tight bond between the film and the surface of the car.
Step 6: Remove Air Bubbles and Excess Water
As you smooth out the film, you may encounter air bubbles or excess water trapped underneath. Use a squeegee or your fingers to push these bubbles towards the edges, allowing them to escape. Continue to work the film until it lays flat against the surface, with no visible bubbles or wrinkles.
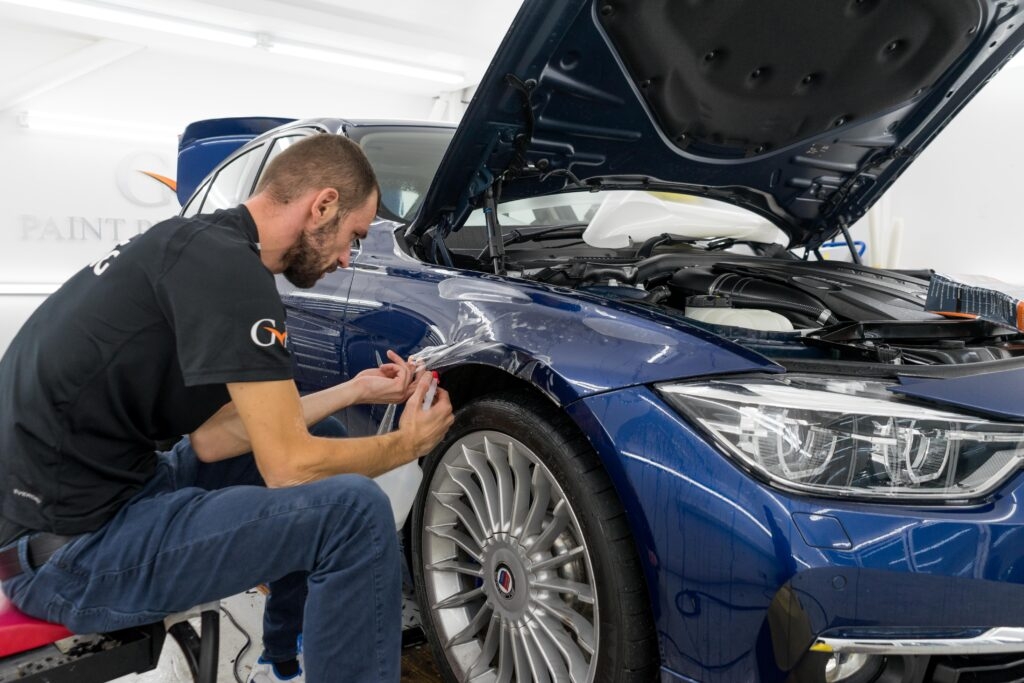
Step 7: Trim Excess Film
Once the PPF is in place and smoothed out, use a utility knife or cutting tool to trim away any excess film along the edges. Take your time and use steady, controlled strokes to ensure clean and precise cuts. Be careful not to cut into the vehicle’s paint or surrounding areas.
Step 8: Heat and Seal the Edges
To ensure proper adhesion and a seamless finish, use a heat gun or hairdryer to gently heat the edges of the PPF. This activates the adhesive and helps the film conform to the contours of the vehicle’s body. Continue to heat and press the edges until they are securely sealed against the surface.
Step 9: Final Inspection and Touch-Ups
Once the PPF is applied and sealed, carefully inspect the entire surface for any imperfections or areas that may need touch-ups. Use a heat gun to warm up any stubborn wrinkles or bubbles, then smooth them out with a squeegee or your fingers. Wipe down the surface with a microfiber towel to remove any remaining moisture or residue.
Step 10: Allow Time to Cure
Finally, allow the PPF to cure for at least 24-48 hours before exposing it to moisture or harsh conditions. This gives the adhesive ample time to bond to the surface and ensures long-lasting protection for your vehicle’s paint.
Tips To Keep in Mind During PPF Installation
During the installation of Paint Protection Film (PPF), there are several key tips to keep in mind to ensure a successful and professional-looking result:
Start with a Clean Surface: Before applying PPF, thoroughly clean the surface of the vehicle to remove any dirt, debris, or wax residue. This ensures proper adhesion and prevents imperfections from being trapped under the film.
Use a Proper Cutting Technique: When trimming the PPF to fit the contours of the vehicle, use a sharp utility knife or cutting tool and make precise cuts along the edges. This helps create clean lines and prevents jagged edges or uneven overlaps.
Apply Soapy Water Solution Liberally: Spraying a mixture of water and mild soap onto the surface before applying the PPF helps lubricate the film and allows for easier repositioning. Be generous with the solution to prevent the film from sticking prematurely.
Smooth Out Air Bubbles and Wrinkles: As you apply the PPF, use a squeegee or your fingers to gently smooth out any air bubbles or wrinkles. Work from the center outwards to push the air bubbles towards the edges, ensuring a tight bond between the film and the surface.
Trim Excess Film Carefully: When trimming away excess film along the edges, use steady and controlled strokes with a sharp cutting tool. Take your time to ensure clean and precise cuts, being careful not to damage the vehicle’s paint or surrounding areas.
Use Heat to Activate Adhesive: After applying the PPF, use a heat gun or hairdryer to gently heat the edges of the film. This activates the adhesive and helps the film conform to the contours of the vehicle’s body, ensuring a secure and seamless bond.
Inspect for Imperfections: Once the PPF is applied, carefully inspect the entire surface for any imperfections, air bubbles, or wrinkles. Use a heat gun to warm up stubborn areas and smooth them out, then wipe down the surface with a microfiber towel to remove any remaining moisture or residue.
Allow Sufficient Time to Cure: Finally, allow the PPF to cure for at least 24-48 hours before exposing it to moisture or harsh conditions. This gives the adhesive ample time to bond to the surface and ensures long-lasting protection for your vehicle’s paint.
By keeping these tips in mind during the PPF installation process, you can achieve professional-looking results and provide lasting protection for your vehicle’s paint.
Conclusion
By following this comprehensive guide, you can successfully apply Paint Protection Film to your car and safeguard its paint from damage. With careful preparation, attention to detail, and the right tools, DIY PPF installation is a rewarding project that can provide lasting protection and peace of mind.
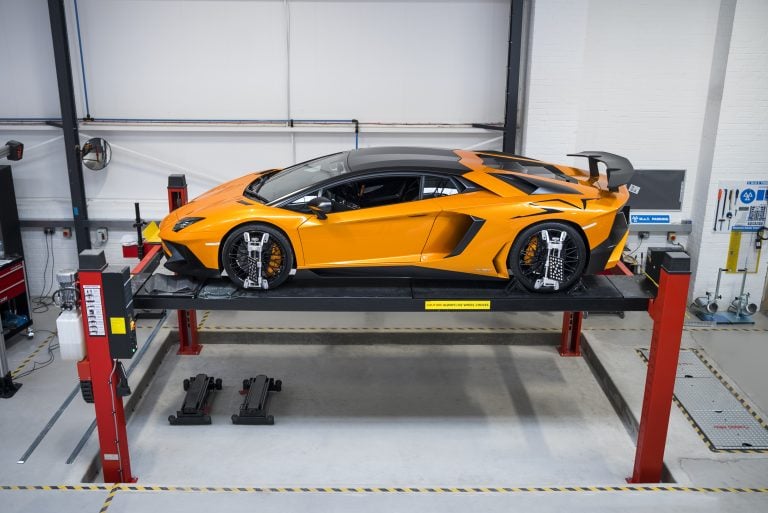
If you’re interested in PPF service for your super car, get a quote now starting
from £600 + VAT
Witness the transformation of a Lamborghini Urus in our video, featuring a stunning matte black wrap complemented by gloss wheels and highlights.