- Customs Case Studies
Step-by-Step Process of Wrapping a McLaren 675LT | GVE London – Blog
Enhance and protect your McLaren 675LT VAT Q with expert vinyl wrapping. Learn how to choose the best materials, apply with precision, and ensure a flawless finish.
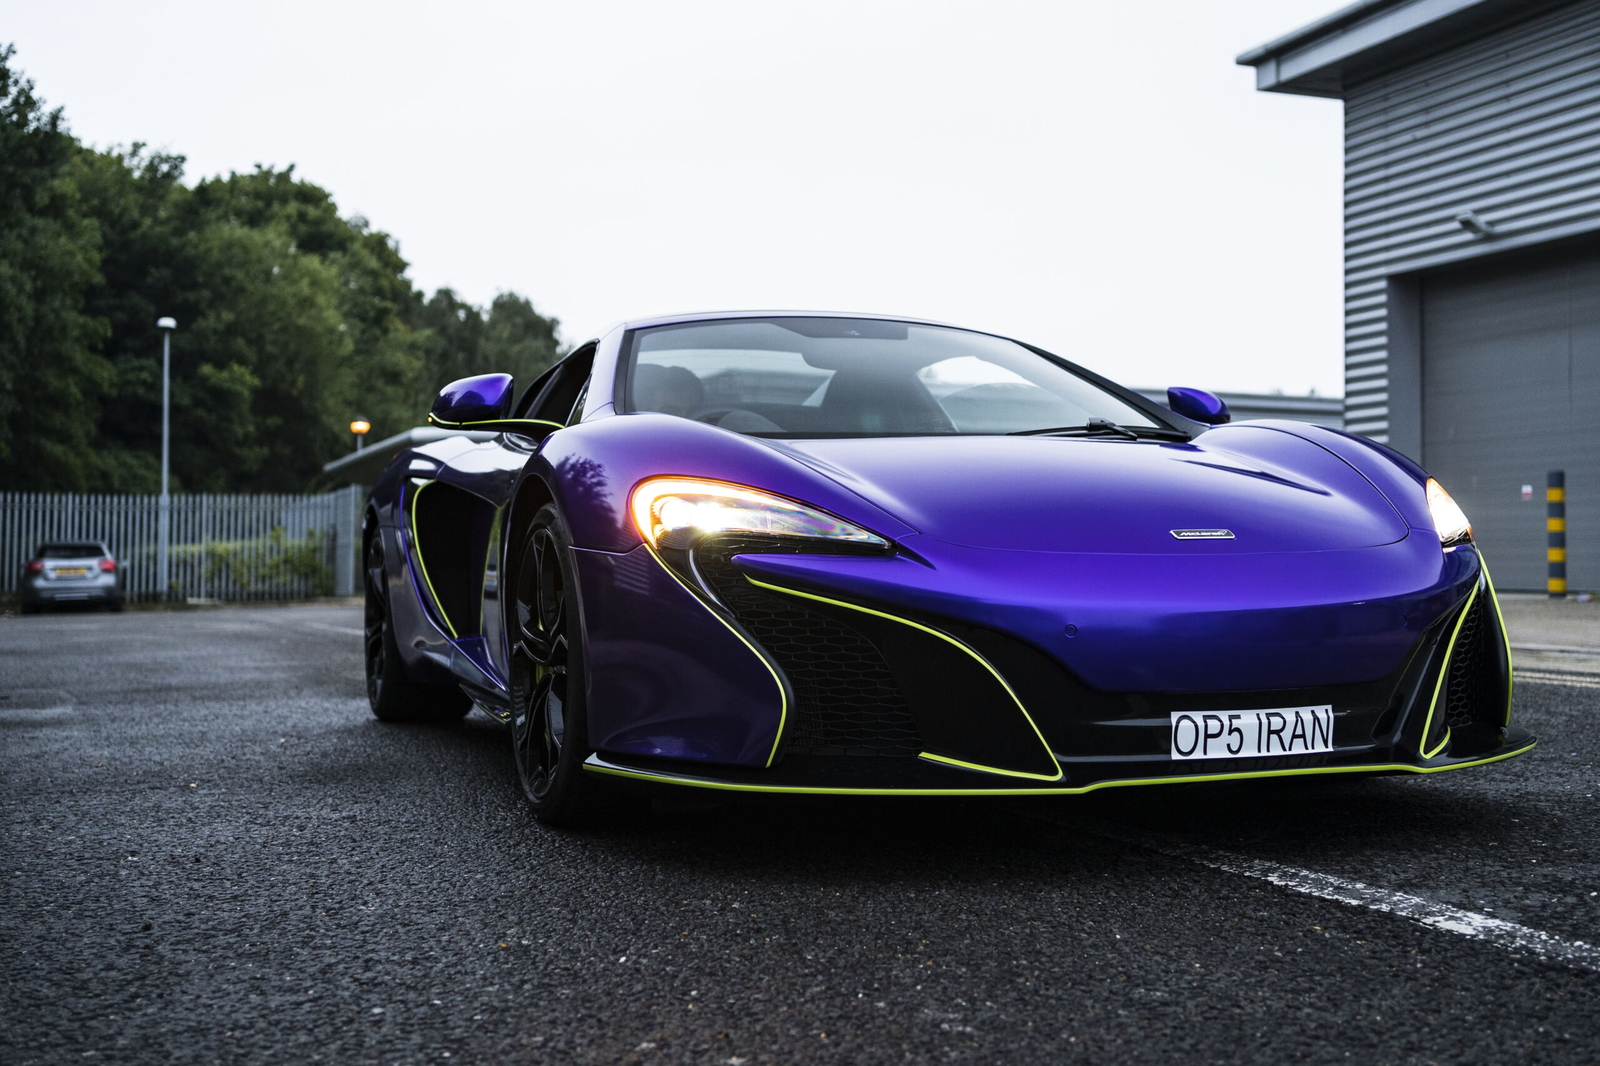
Wrapping a McLaren 675LT VAT Q is an exciting way to customise and protect your supercar. This process not only enhances the vehicle’s appearance but also shields the paint from scratches and UV damage. Here’s a comprehensive step-by-step guide for McLaren 675LT VAT Q wrapping, ensuring a flawless finish and a stunning transformation.
Preparation and Planning
Choose the Right Vinyl
Before starting, select high-quality vinyl wrap material for supercar wrapping. Opt for a reputable brand that offers durable and flexible vinyl. Consider finishes such as gloss, matte, or satin to match your desired look. High-performance vinyl is essential for a vehicle like the McLaren 675LT VAT Q, which demands precision and durability.
Gather Tools and Supplies
Ensure you have all the necessary tools and supplies ready. By visiting a supercar customisation centre like GVE London you get access to the best equipment and high-quality products –
- Vinyl wrap film
- Squeegee or application tool
- Heat gun or hair dryer
- Utility knife or razor blade
- Isopropyl alcohol and microfiber cloths
- Measuring tape and trimming tools
- Pliers and a soft cloth
Clean the Vehicle
Thoroughly clean the McLaren 675LT VAT Q to remove dirt, dust, and grease. Use isopropyl alcohol and a microfibre cloth to wipe down the surface, ensuring it’s completely free of contaminants that could affect adhesion.
Read Also: Top 10 Wrapping Brands to Wrap Your Vehicle
Surface Preparation
Remove Exterior Components
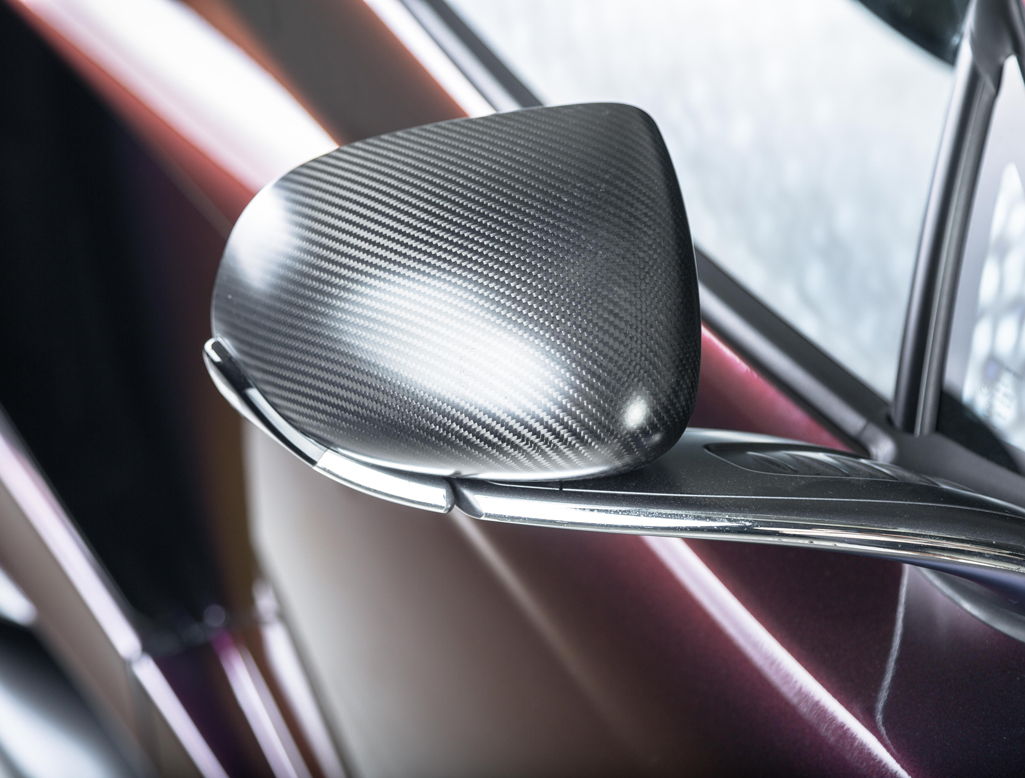
To ensure a seamless wrap, remove any components that may interfere with the application. This includes badges, trim pieces, mirrors, and any removable parts. Carefully store these components for reinstallation later.
Tape Off Areas
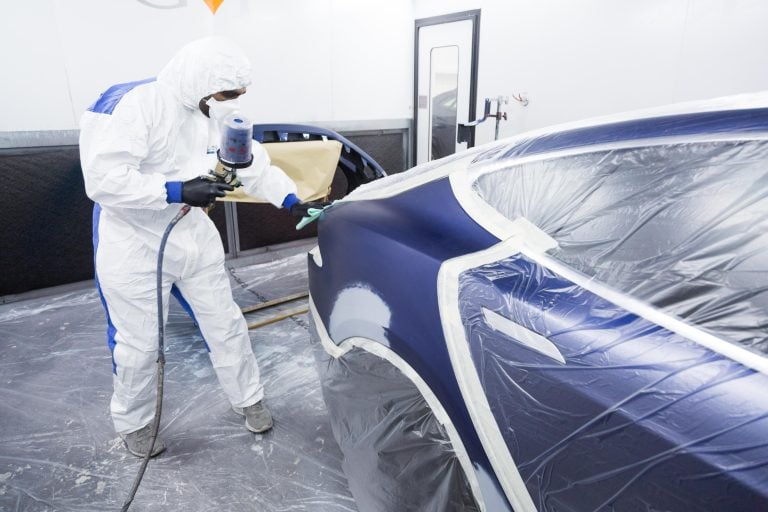
Use masking tape to cover areas that you don’t want to wrap, such as the windows and trim. This will help you achieve clean edges and prevent accidental supercar wrapping of unintended areas.
Applying the Vinyl Wrap
Measure and Cut the Vinyl
Measure the areas you need to wrap and cut the vinyl accordingly. It’s better to cut larger pieces than necessary to ensure complete coverage. Lay out the vinyl on a clean surface to avoid dust or debris getting trapped underneath.
Apply the Vinyl
Start applying the vinyl to one section of the car. Begin at the centre and work your way outwards to minimise air bubbles. Use a squeegee to press the vinyl down and ensure good adhesion. Apply gentle heat with a heat gun as you work to make the vinyl more pliable and easier to stretch around curves and contours.
Stretch and Smooth
For curved areas, stretch the vinyl carefully and use the heat gun to help it conform to the shape of the car. Smooth out any air bubbles or wrinkles with the squeegee. Be patient and work slowly to avoid creating folds or creases.
Trim Excess Vinyl
Once the vinyl is applied and smoothed out, use a utility knife or razor blade to trim away excess material. Carefully cut along the edges of the panels and around any components that were removed earlier. Make precise cuts to ensure a clean, professional finish.
Final Touches
Reinstall Removed Components
After trimming, reinstall any components you removed earlier, such as badges, trim pieces, and mirrors. Ensure that they are securely attached and aligned properly with the new wrap.
Inspect and Adjust
Thoroughly inspect the entire wrapped surface for any imperfections or areas that need adjustment. Use the heat gun to reheat and smooth out any minor imperfections. Check that all edges are securely adhered and that there are no visible bubbles or wrinkles.
Clean and Maintain
Once the wrap is complete, clean the vehicle with a gentle wash to remove any dust or debris from the installation process.
Avoid using harsh chemicals or abrasive materials that could damage the vinyl. Regular maintenance includes washing the wrap with mild soap and water and avoiding high-pressure washing to ensure longevity.
Conclusion
Wrapping your McLaren 675LT VAT Q is a meticulous process that requires careful preparation and attention to detail. By following these steps, you can achieve a stunning and protective wrap that enhances your vehicle’s appearance while safeguarding its paint.
With proper care and maintenance, and inspection from a McLaren servicing centre will not only look exceptional but also retain its pristine condition for years to come. For the best wrapping of your 675LT VAT Q, make sure to visit GVE London. You even get bodyshop repairs, servicing, PPF installation, detailing, and more for your supercar here.
Frequently Asked Questions
A high-quality vinyl wrap can last between 5 to 7 years with proper care and maintenance. Factors such as exposure to harsh weather conditions, frequent washing, and overall vehicle usage can impact the lifespan of the wrap.
Yes, vinyl wraps can be removed or changed. The removal process should be done carefully to avoid damaging the paint. If you plan to remove or replace the wrap, consider having a professional handle it to ensure the paint remains in good condition.
Common mistakes include not cleaning the vehicle thoroughly, using incorrect tools, applying too much heat, or rushing the application process. Ensure you use the right tools, take your time, and follow the proper techniques to avoid these issues.
Contact Us
"*" indicates required fields
OUR SERVICES
PAINT PROTECTION FILM
WRAPPING
SERVICING
