- Servicing Case Studies
The Installation Process for Quicksilver Exhausts | GVE London – Blog
Transform your supercar’s performance and sound with a Quicksilver exhaust. Follow our step-by-step guide for a smooth installation and enjoy a thrilling driving experience.
Upgrading your vehicle’s exhaust system with Quicksilver Exhausts can transform its performance and sound, providing a thrilling driving experience. Known for their high-quality craftsmanship and innovative design, Quicksilver exhausts are a popular choice among enthusiasts.
However, installing a new exhaust system can be a complex task if you’re unfamiliar with the process. Here’s a step-by-step guide on how to install Quicksilver Exhaust to your supercar, ensuring a smooth and successful upgrade.
Installation Process for Quicksilver Exhausts On Your Supercar
1. Preparation and Planning
- Gather Tools and Equipment: Make sure to visit a supercar service centre like GVE London that has all the necessary tools and equipment. Typical tools required include a socket set, wrenches, a jack and jack stands, and possibly a cutting tool if modifications are needed. Additionally, having a high-temperature lubricant and a torque wrench can be beneficial.
- Read the Instructions: Carefully read the installation manual provided by Quicksilver. Each exhaust system may have specific requirements or steps, so it’s essential to follow the guidelines tailored to your model.
- Check Vehicle Compatibility: Ensure the Quicksilver exhaust system is compatible with your vehicle’s make, model, and year. Double-check that all necessary components are included in the kit.
2. Lifting the Vehicle
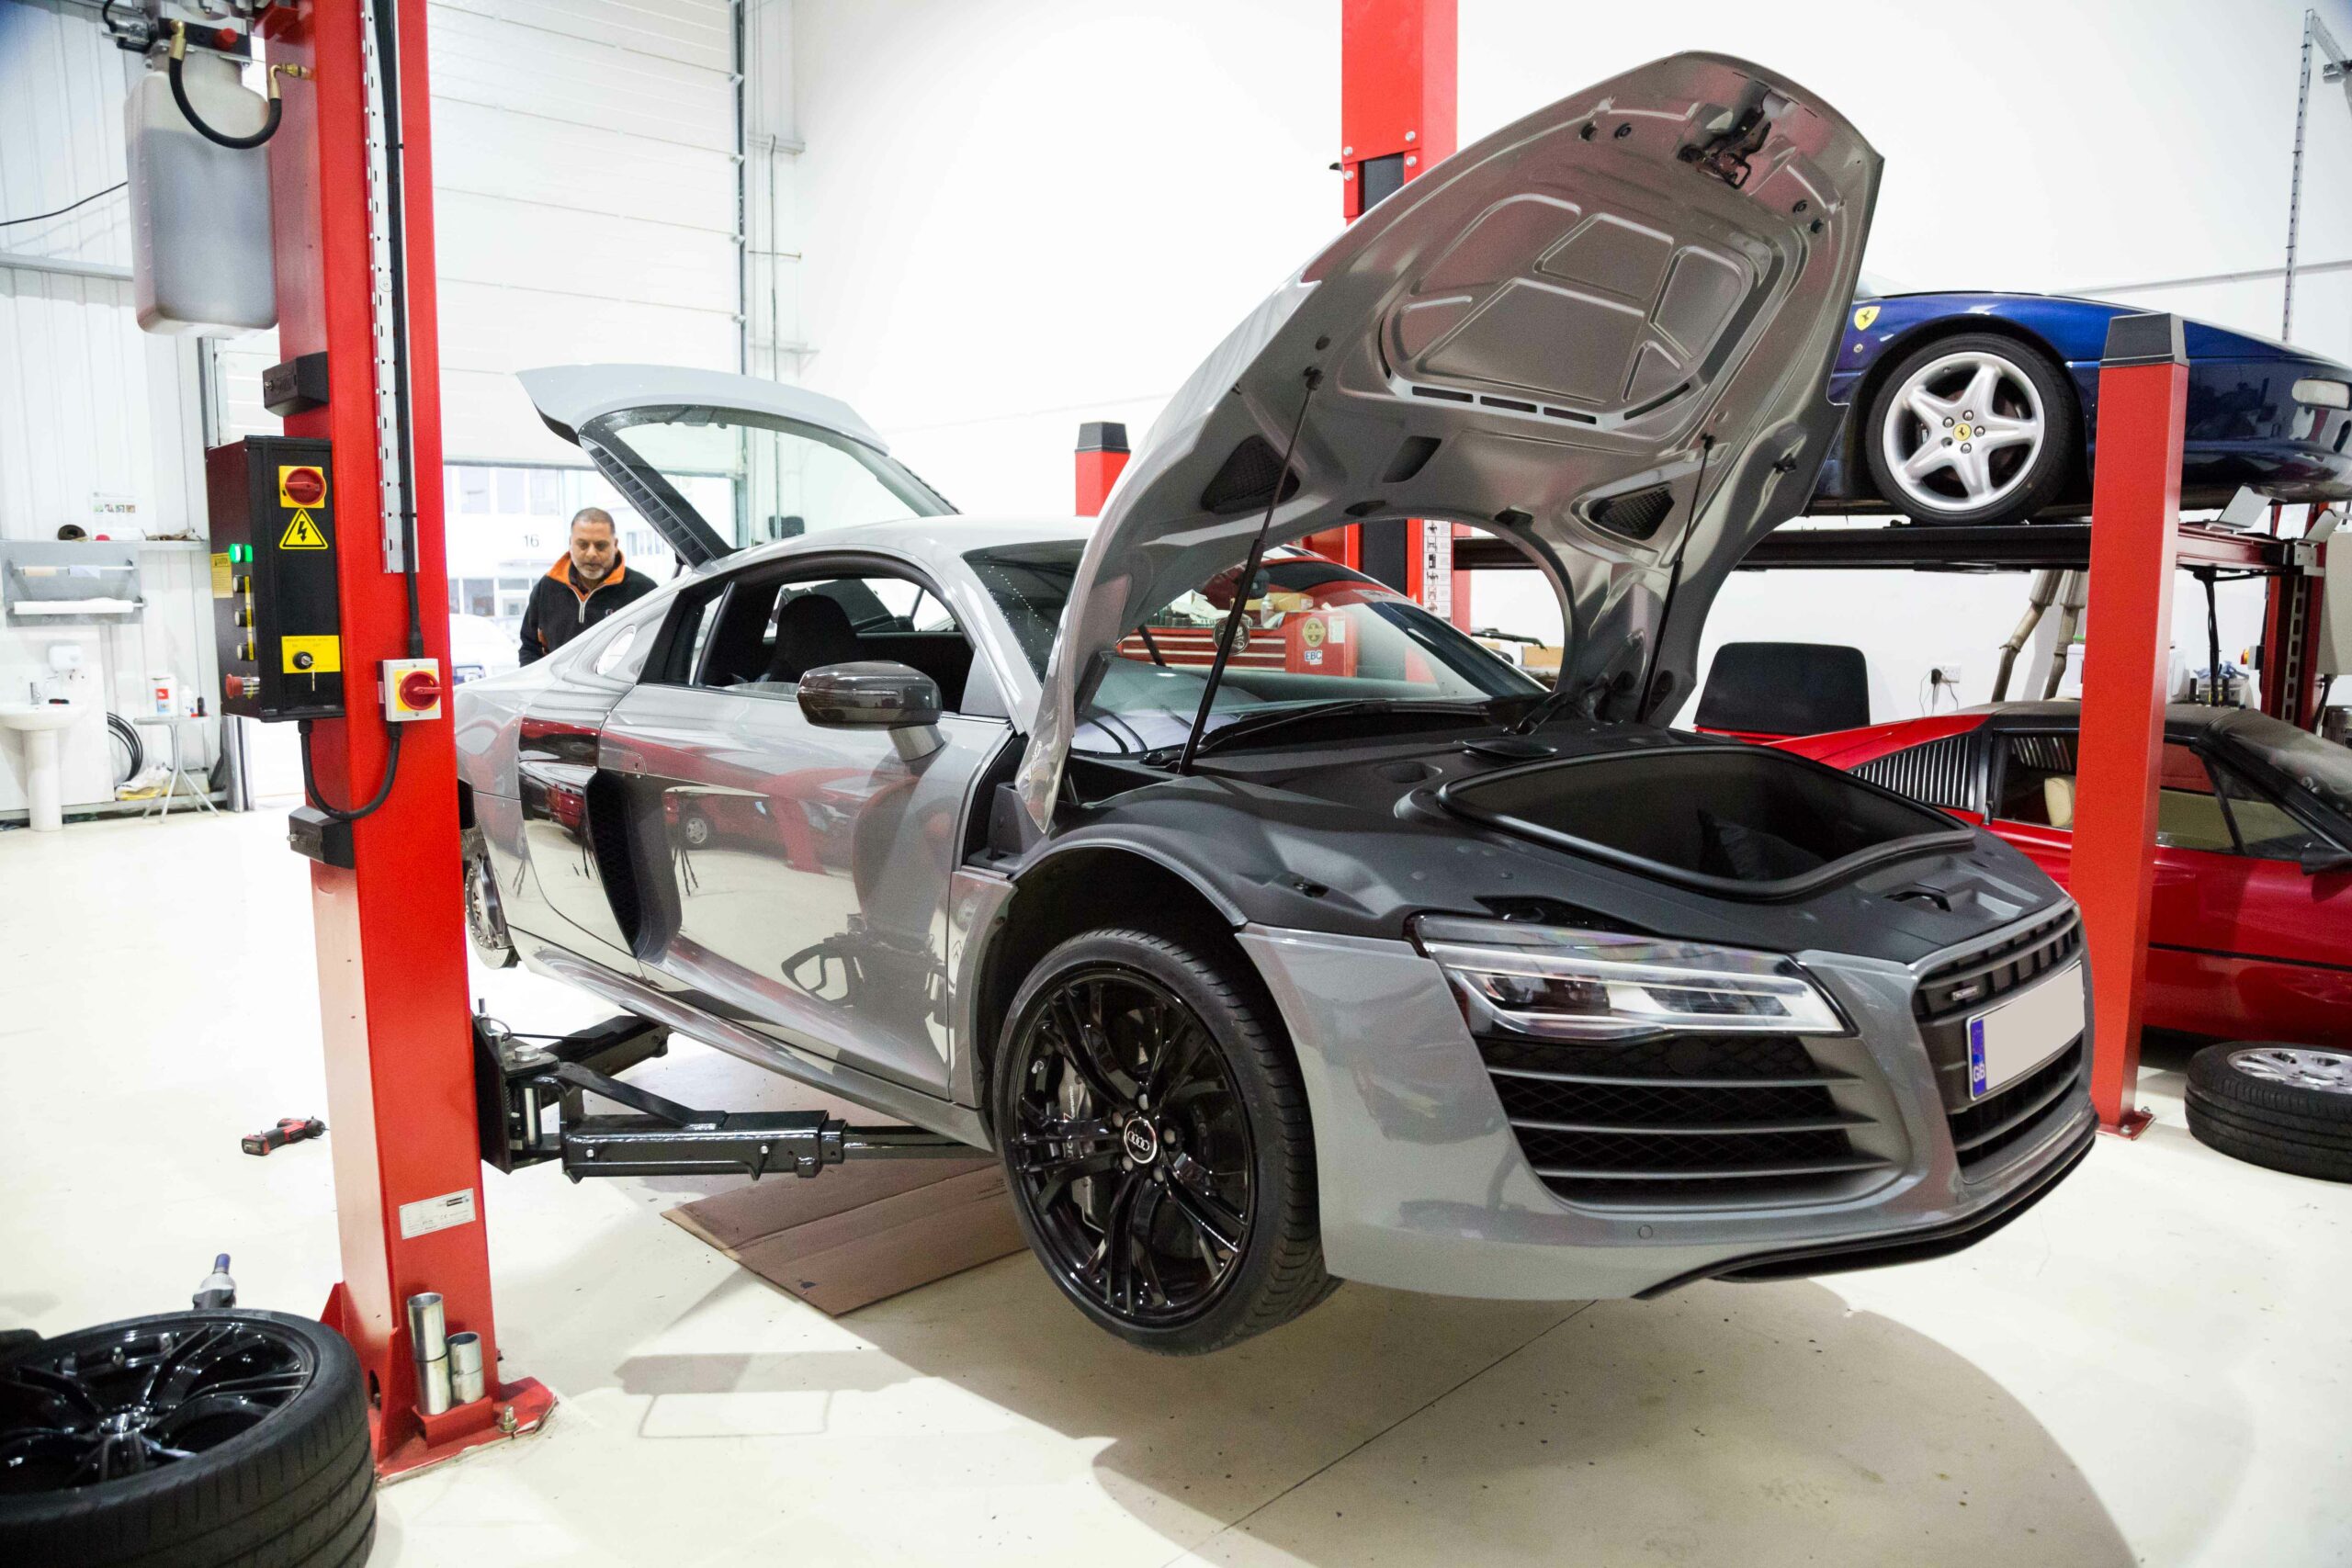
- Secure the Vehicle: Park your vehicle on a flat, level surface and engage the parking brake. Use a jack to lift the vehicle and secure it with jack stands. Ensure the vehicle is stable before proceeding with the installation.
- Protect the Vehicle: Consider using a vehicle cover or cloth to protect the paint and undercarriage from any accidental scratches or damage during the installation.
3. Removing the Old Exhaust System
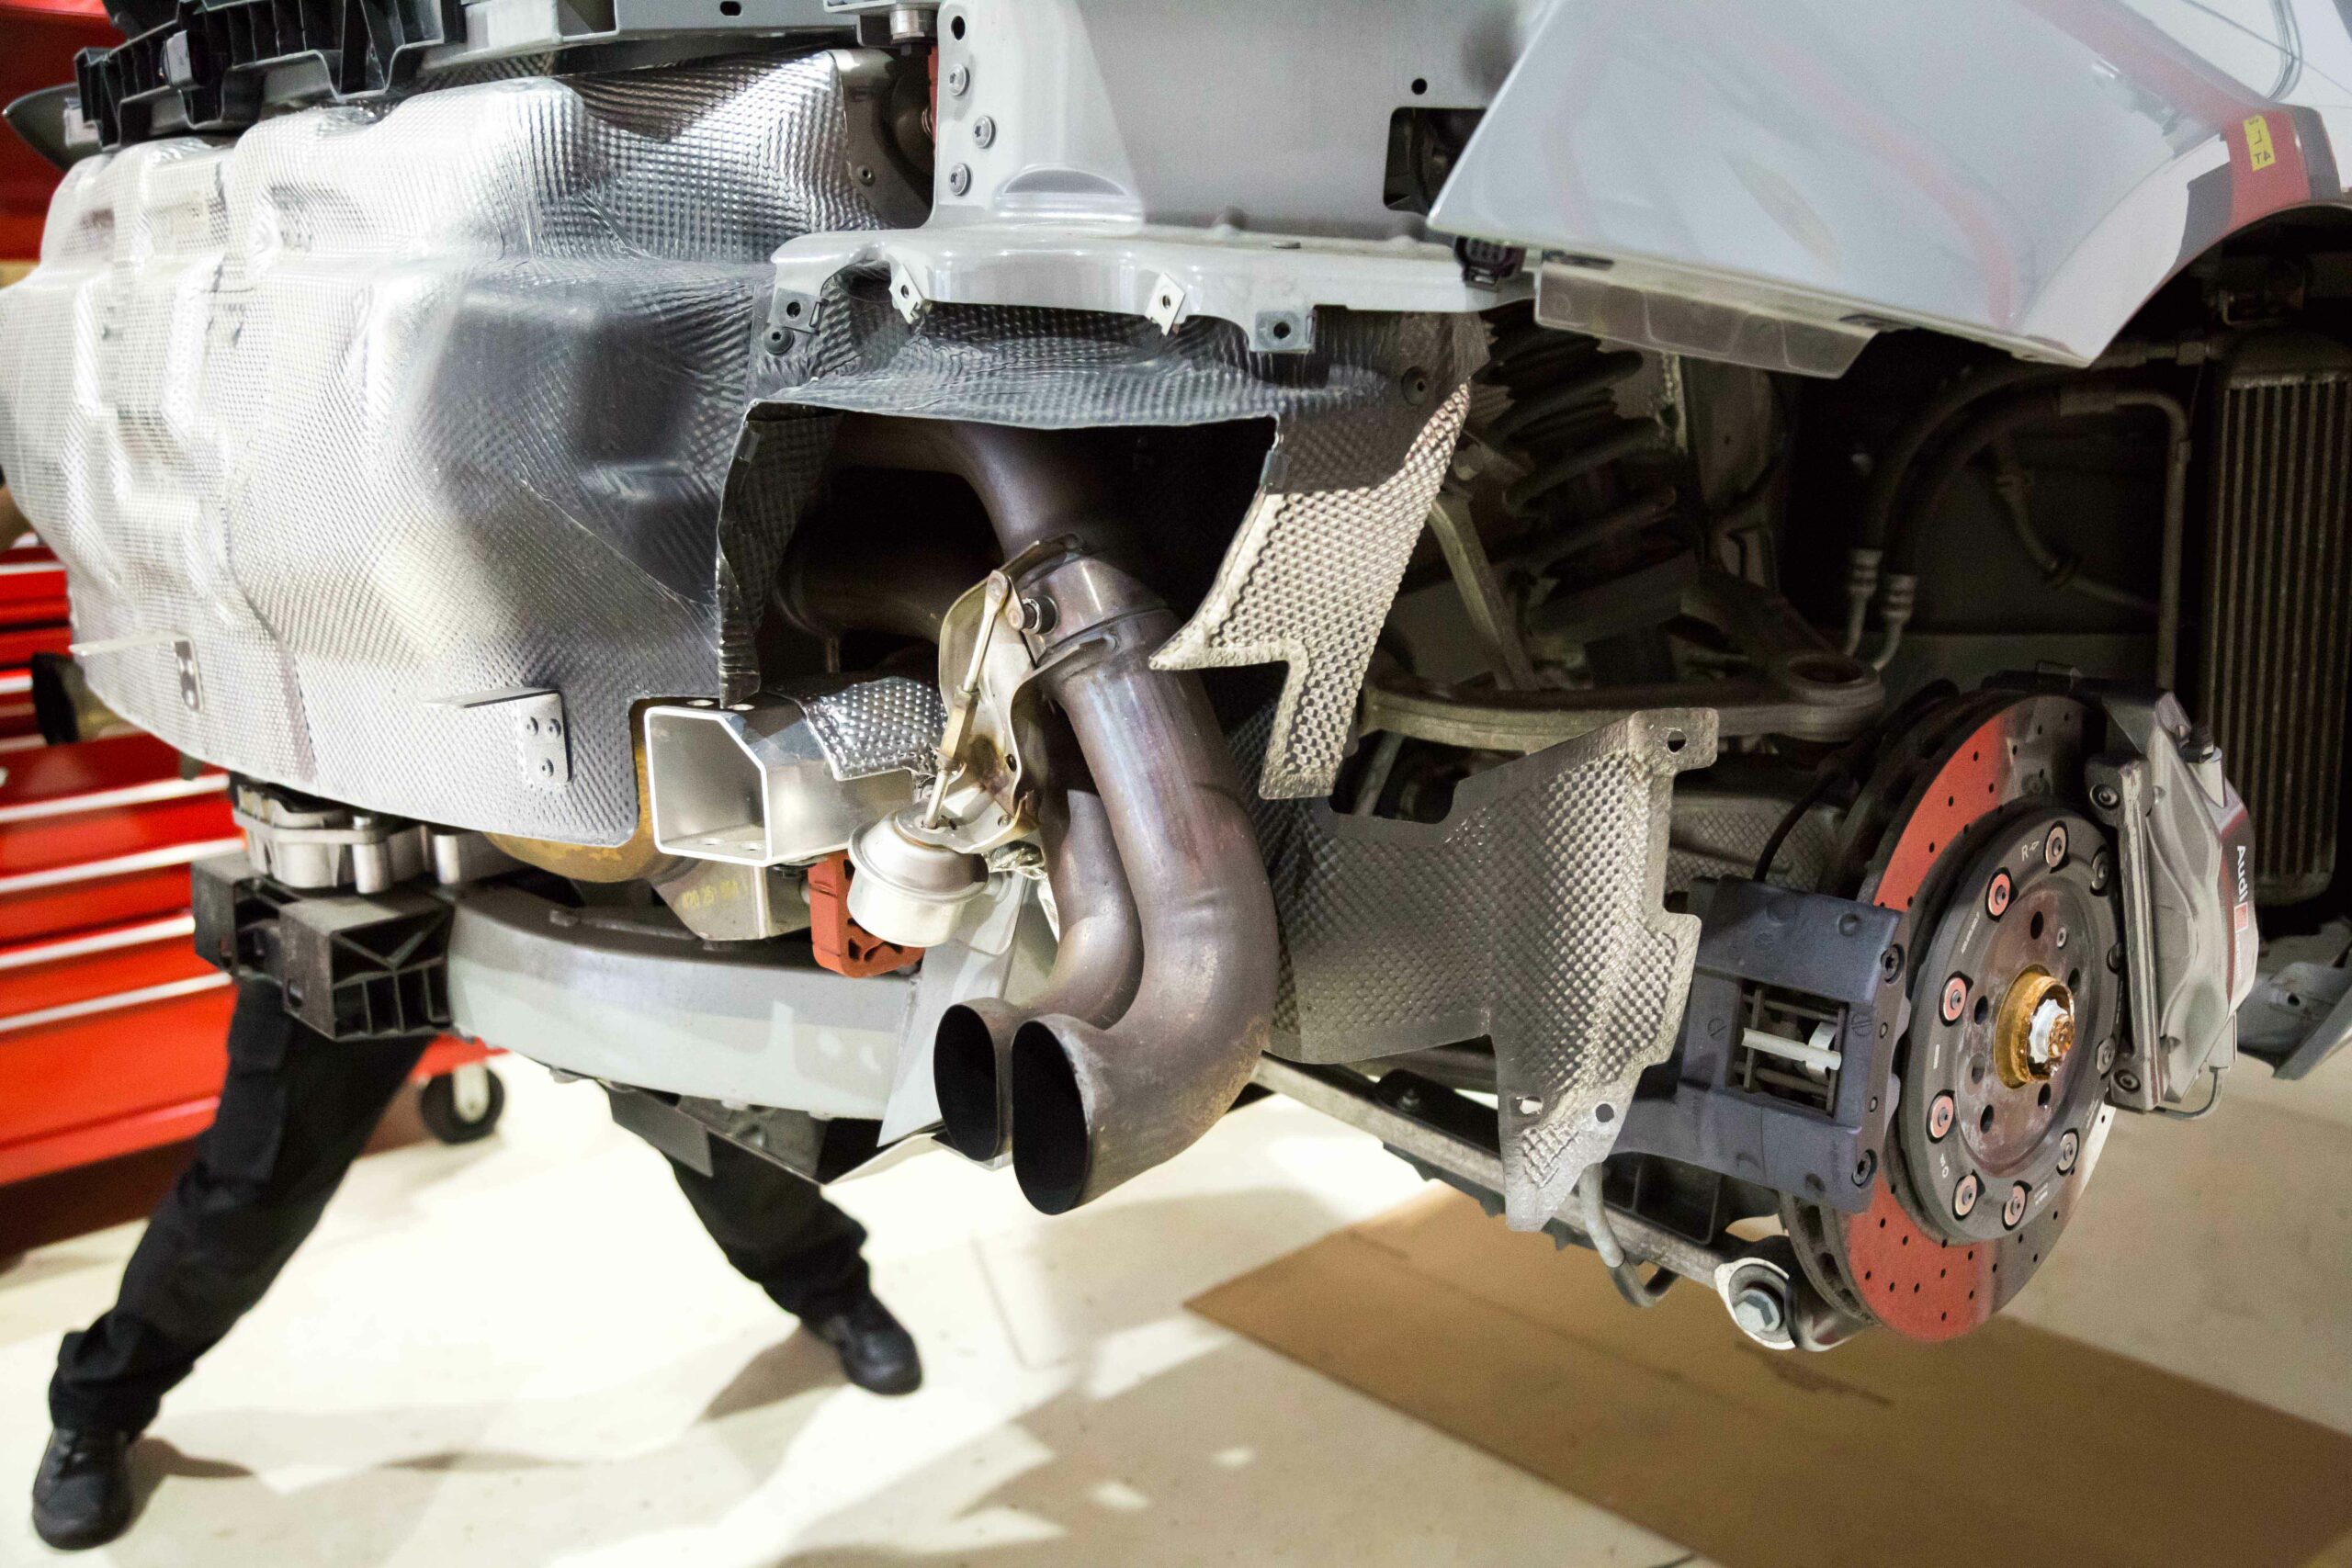
- Locate the Exhaust System: Identify the existing exhaust system components, including the muffler, catalytic converter, and exhaust pipes.
- Unbolt and Remove: Using a socket set and wrenches, remove the bolts and clamps securing the old exhaust system. It’s often helpful to start from the rear and work towards the front. Carefully lower and remove the old components, being mindful of any remaining exhaust hangers or brackets.
- Inspect and Clean: Before installing the new system, inspect the exhaust mounting points and clean any residue or debris. This ensures a clean surface for the new exhaust system and helps avoid installation issues.
Read Also: How Quicksilver Exhausts Affect Your Supercar’s Sound and Aesthetic?
4. Installing the Quicksilver Exhaust System
- Position the New Exhaust: Position the new Quicksilver exhaust components under the vehicle, aligning them with the existing mounting points. Quicksilver exhausts are designed to fit precisely, but slight adjustments may be needed.
- Attach the Components: Begin by loosely attaching the exhaust components using the provided clamps and bolts. Do not fully tighten them until all components are in place. Ensure the exhaust system is correctly aligned with the vehicle’s mounting points and any connection flanges are properly seated.
- Secure the Exhaust: Once the exhaust system is correctly aligned, tighten all clamps and bolts to the manufacturer’s specified torque settings. A torque wrench is crucial here to ensure that all connections are secure without over-tightening.
- Check for Proper Fit: Double-check the alignment and clearance of the exhaust system. Ensure there are no contact points with the vehicle’s body or suspension components. Adjust as needed to achieve a proper fit and benefits of the quicksilver exhausts for your supercar.
5. Final Steps and Testing
- Recheck All Connections: Ensure all bolts and clamps are properly tightened. Recheck the exhaust hangers and brackets to make sure the system is securely mounted.
- Lower the Vehicle: Carefully remove the jack stands and lower the vehicle using the jack. Ensure the vehicle is stable and safely on the ground.
- Test the Exhaust System: Start the vehicle and listen for any unusual noises or leaks. A Quicksilver exhaust should provide a distinct, high-performance sound without any rattles or vibrations. Check for exhaust leaks around the joints and connections, and address any issues promptly.
- Perform a Test Drive: Take the vehicle for a short test drive to ensure that the exhaust system is functioning correctly and the vehicle performs as expected. Pay attention to the sound and performance, and make any final adjustments if necessary.
Conclusion
Installing a Quicksilver exhaust system can significantly enhance your vehicle’s performance and auditory experience. Whether you’re a seasoned DIY enthusiast or a newcomer, this guide aims to make the process as straightforward as possible.
If you want to enjoy your upgraded exhaust system and the enhanced driving experience it brings, make sure to visit GVE London for error-free and high-quality installation of the exhaust by experts. Moreover, you get bodyshop repairs, detailing, wrapping, custom modification, etc. for your supercar as well.
Frequently Asked Questions
The installation time can vary depending on your experience and the specific exhaust system. On average, it can take between 2 to 4 hours. This includes removing the old exhaust, fitting the new system, and making necessary adjustments.
To prevent exhaust leaks, ensure all joints and connections are properly sealed. Tighten all bolts and clamps to the manufacturer’s recommended torque settings using a torque wrench. Check for leaks by starting the engine and inspecting the exhaust system for any unusual sounds or visible exhaust gases escaping.
After installation, check the alignment and clearance of the exhaust system to ensure it doesn’t touch any other parts of the vehicle. Start the engine and listen for any unusual noises or vibrations. Perform a test drive to assess the exhaust sound and performance, and make any final adjustments if needed.
Contact Us
"*" indicates required fields
OUR SERVICES
PAINT PROTECTION FILM
WRAPPING
SERVICING
