- Servicing Case Studies
How to Remove a Custom Exhaust Without Damaging Your Vehicle | GVE London – Blog
Learn how to safely remove a custom exhaust with proper tools, planning, and precision. Avoid damage to your vehicle and follow our step-by-step guide.
Let us be clear: you’re going to need a lot more than a screwdriver. You’re going to need careful planning, precisions, tools and knowledge if you intend to remove a custom exhaust without damaging your vehicle or yourself. If you want to replace your exhaust or just go back to stock, read this blog post to learn how to safely remove a custom exhaust.
Why Nailing The Removal Process Matters
Custom exhausts are designed for performance and looks, so they tend to be a lot more complicated to remove than a stock exhaust, in most cars at the very least. Each component of the stock matters, damaging the exhaust, brackets, catalytic converter or surrounding crucial parts during removal could lead to issues such as exhaust leaks, poor vehicle performance, or even permanent damage to your exhaust system or the undercarriage of your vehicle. If you’re uncertain, it is always recommended simply taking your vehicle to a supercar service centre like GVE London and they can handle the entire procedure.
Tools You’ll Need
Before getting started, it’s important to gather the proper tools. Using subpar tools or trying to rush the job can lead to damage. Below are the tools you’ll need:
- A Jack and Stands – You’ll need to lift the vehicle safely. Make sure your jack is rated for the weight of your vehicle.
- Socket Wrench Set – A set with various sizes will be necessary to remove bolts from different parts of the system.
- Lubricant or Penetrating Oil – To loosen stubborn, rusted bolts.
- Safety Gear – Gloves and goggles are essential to keep yourself safe from debris or accidents.
Read Also: Installation Guide for Custom Supercar Exhausts
Step-by-Step Guide to Removing a Custom Exhaust
Step 1: Allow the Exhaust to Cool
Exhaust pipes get burning hot! Before you even think about getting under your vehicle, let the exhaust system cool down completely.
Step 2: Lift Your Vehicle
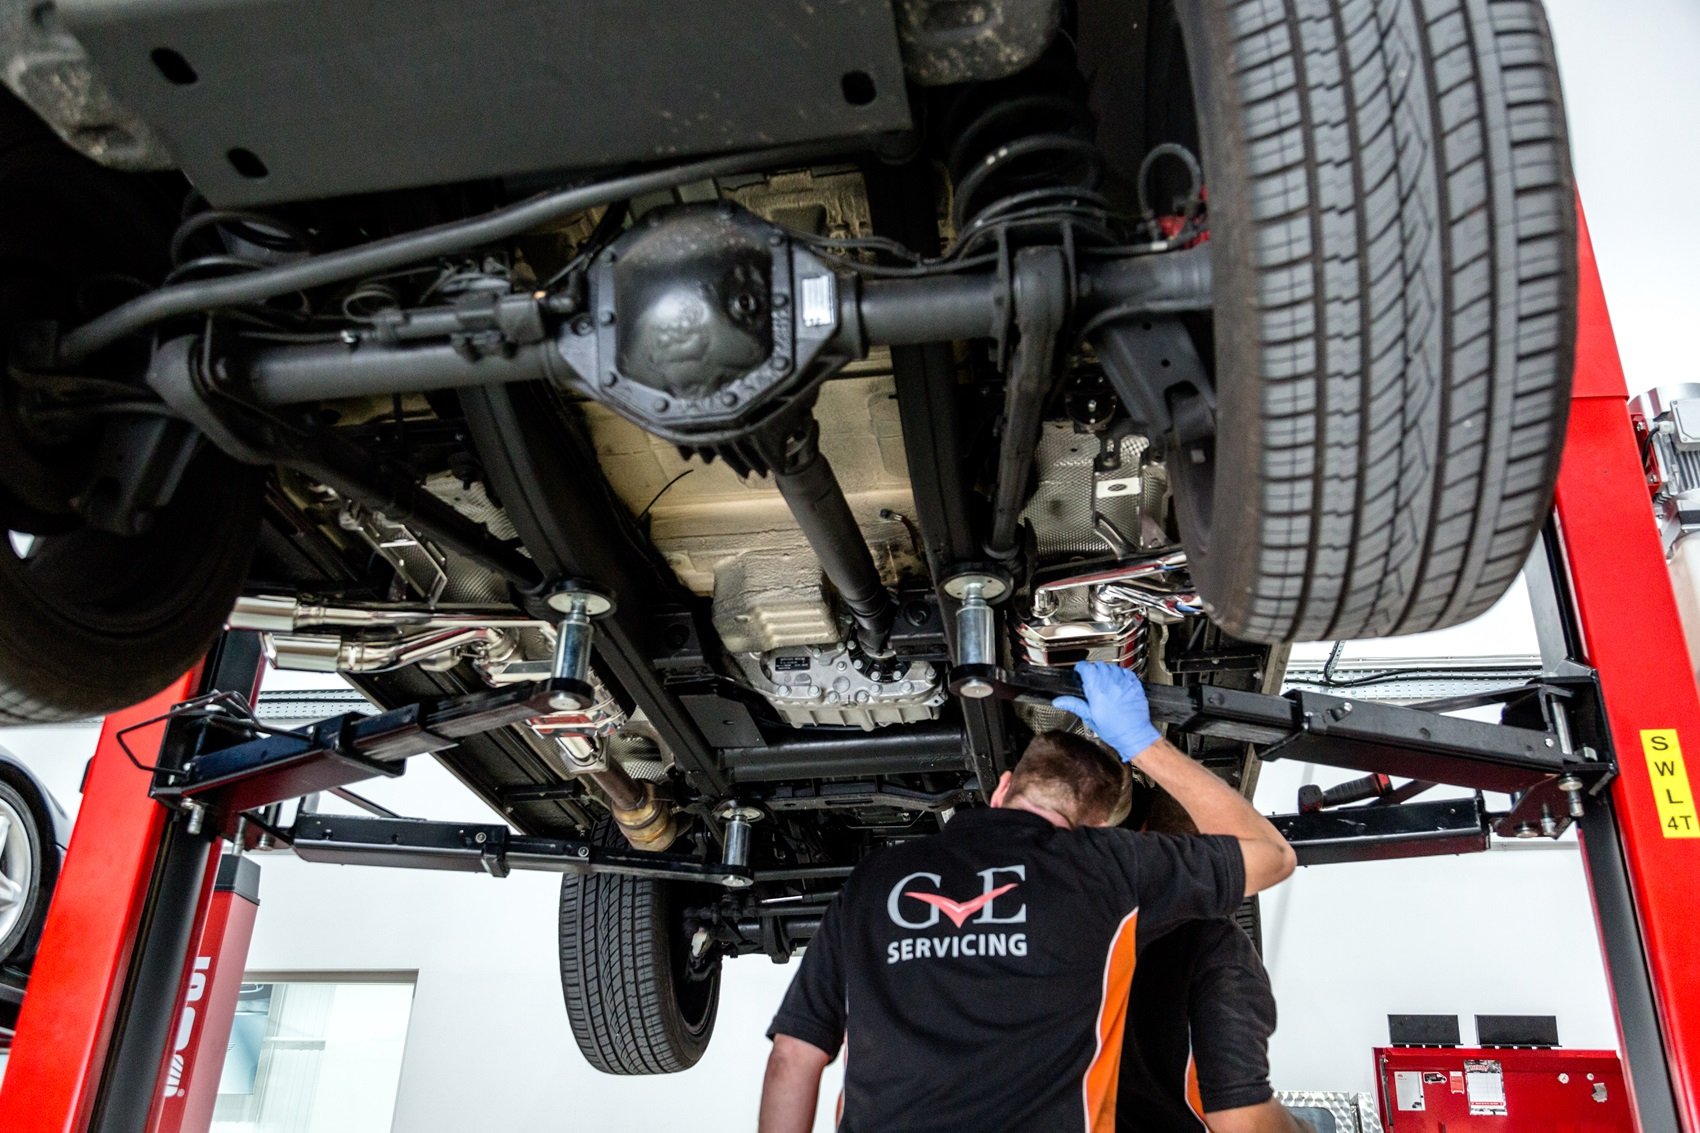
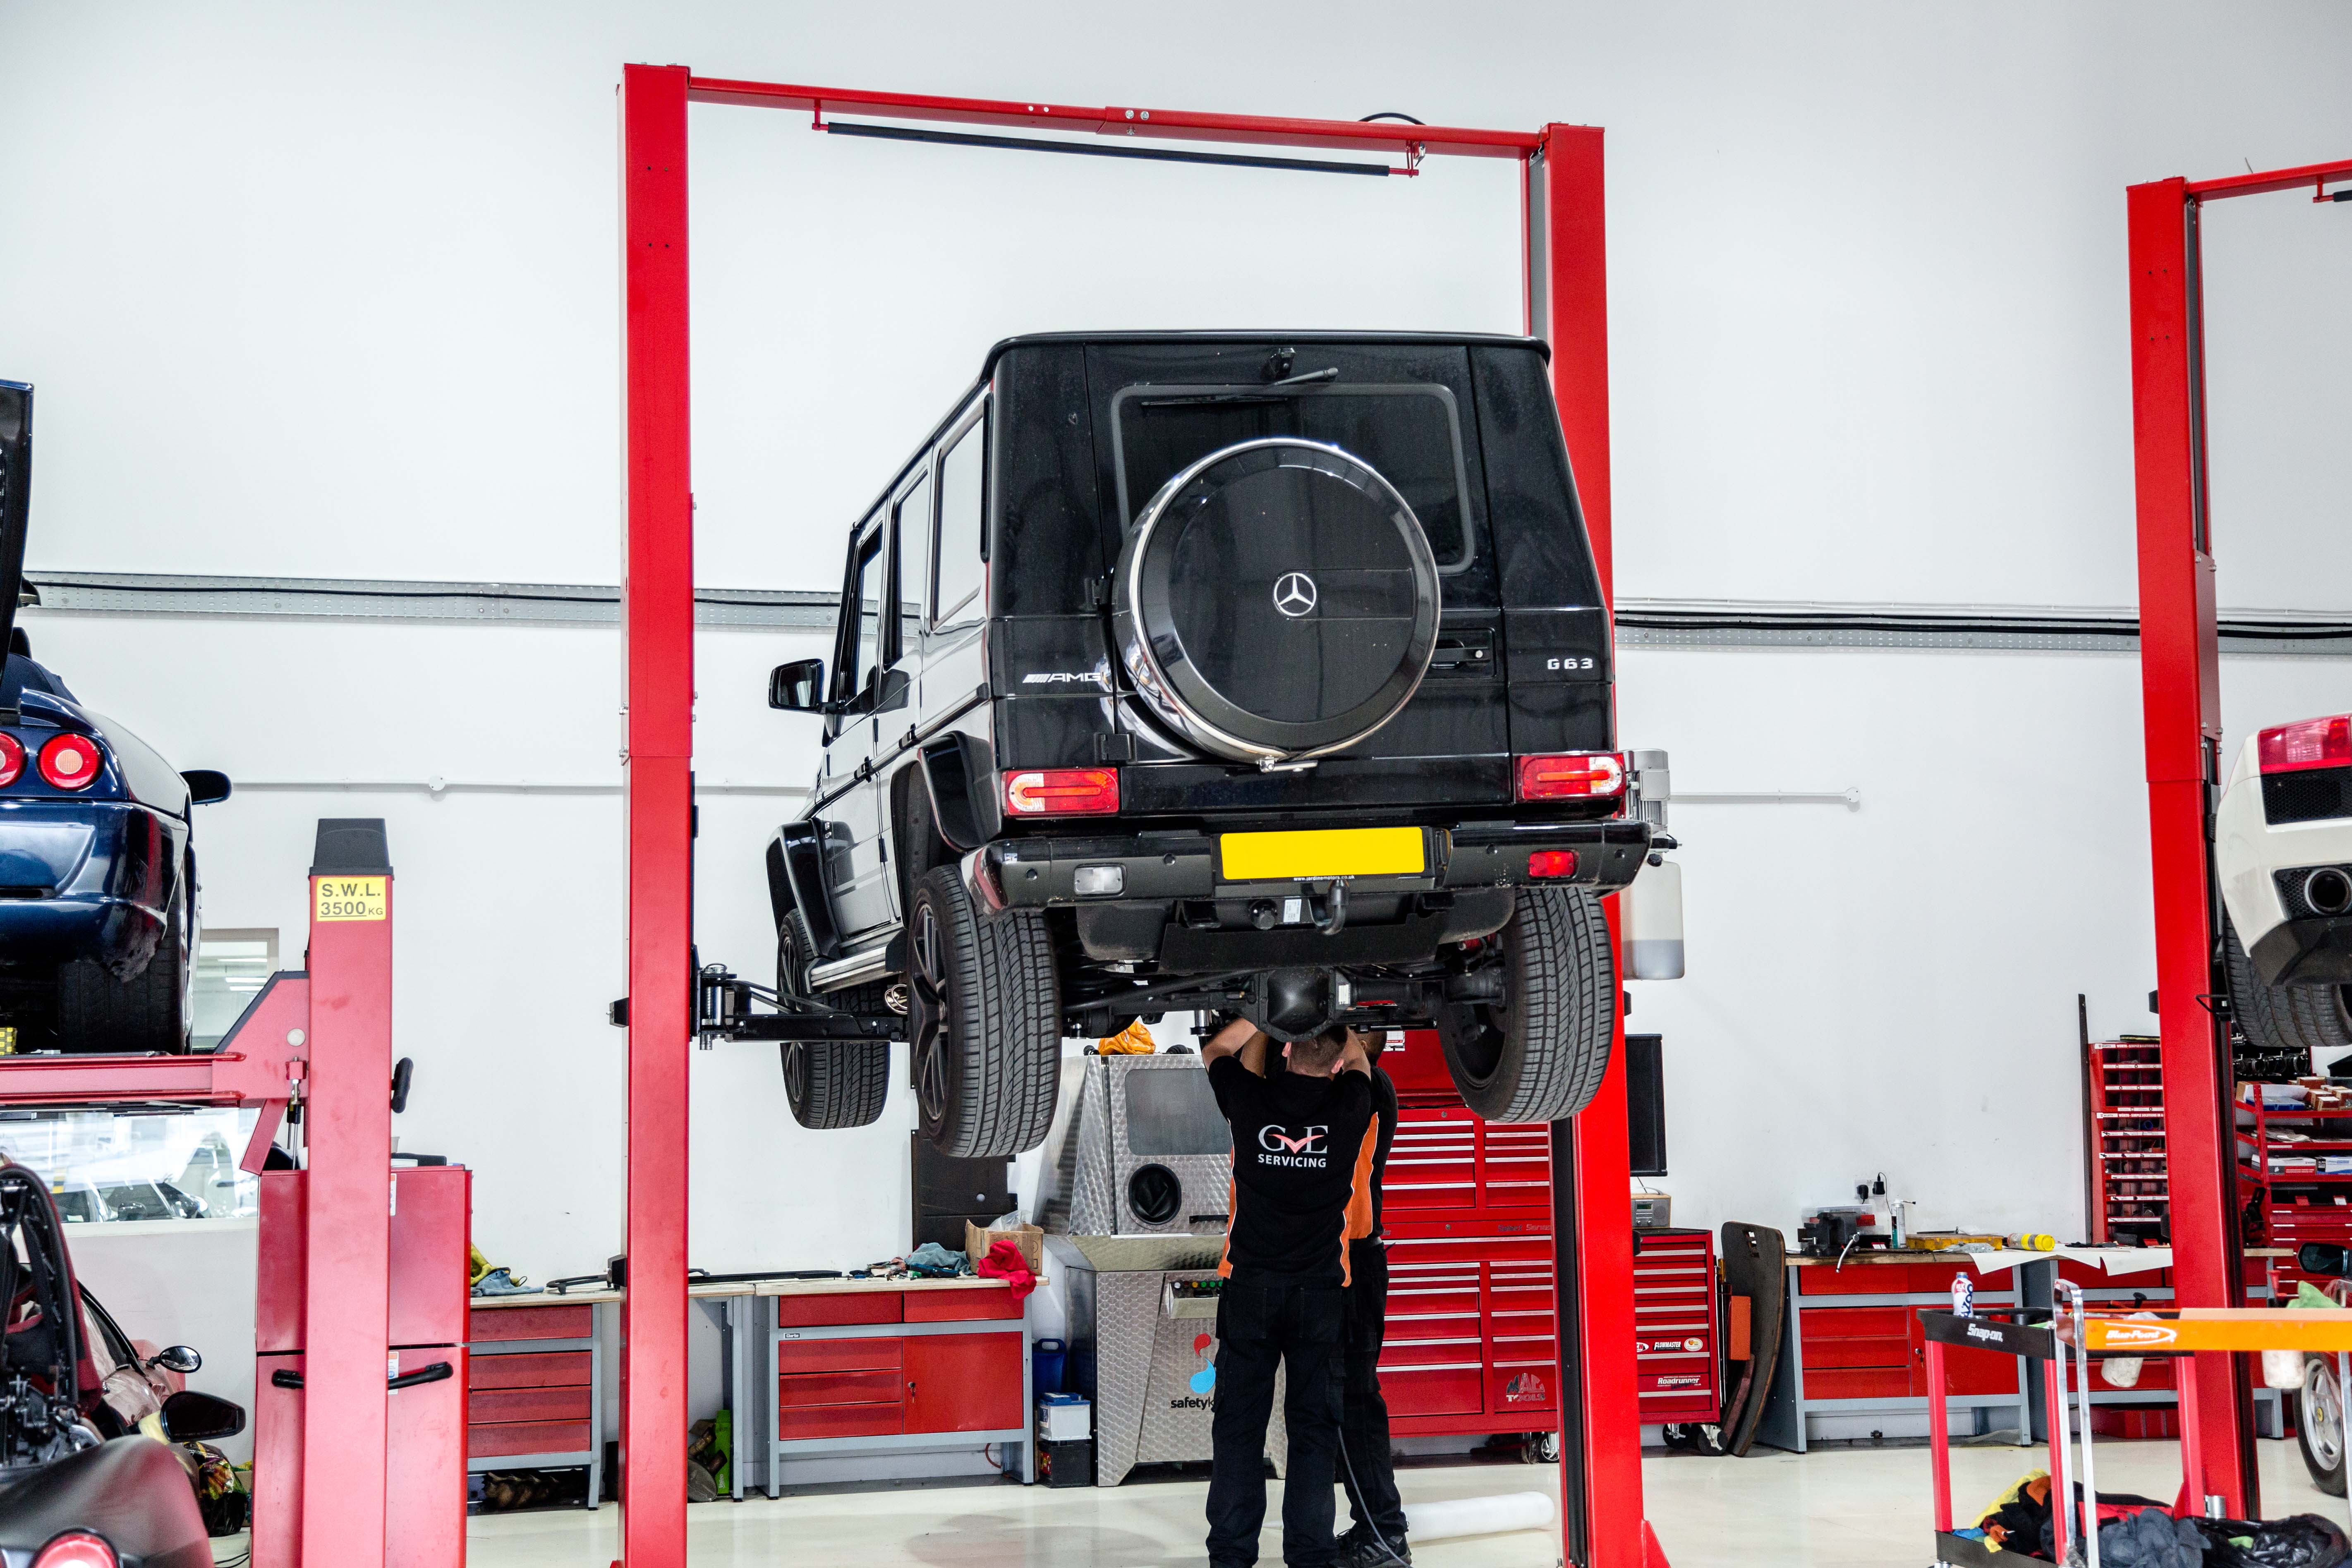
Once the exhaust systems are cool to touch, it’s time to get down on the floor and dirty. Lift up the car using a jack and secure it with jack stands; never rely on a jack alone to hold a vehicle. Make sure the vehicle is stable before you start working underneath it.
Step 3: Locate the Fasteners
Custom exhaust systems are typically held in place with bolts, nuts, or clamps. Use your socket wrench set to locate and remove these fasteners. If they seem tight or rusty, apply a little penetrating oil to loosen them up. Let it sit for a while before attempting to remove the fasteners.
Step 4: Disconnect the Hangers and Mounts
Exhaust systems, usually, are held up using rubber hangers. Carefully slide the exhaust out of these supports using hanger removal tools or good ol’ pliers (they might leave marks so be careful). Remember, be gentle as you don’t want to tear the rubber.
Step 5: Begin Removing the Exhaust System
It’s time to remove the exhaust. Depending on the design, the exhaust may come off in sections. Work your way along the system, carefully disconnecting each part.
Step 6: Check for Any Issues
Once the exhaust system is off, take a moment to inspect the surrounding parts. Look for signs of wear, rust, or damage. If you notice anything unusual, it’s best to take your vehicle to a supercar service centre to ensure no further damage has occurred.
Conclusion
Removing a custom exhaust is no child’s play and one of the more complicated tasks to take up by yourself. Being custom-built for performance vehicles adds a whole new layer of complexity to them. If you’re uncertain about the procedure and would like some assistance, feel free to visit GVE London, west London’s finest Supercar Service Centre that specialises in high-end vehicles, from their servicing and repairs to modifications and sales or purchases. However, if you’re hellbent on DIYing the removal process, follow the steps given in this article and, with some patience, you should get through it.
Frequently Asked Questions
If your custom exhaust is still in good condition, you can reuse it. Make sure to store it properly to prevent rust or damage though.
If not done correctly, yes. Improper removal can damage the exhaust system, brackets, or other parts so aways proceed carefully and consider professional help if unsure.
It can take anywhere from 1 to 3 hours, depending on the complexity of the exhaust system and the condition of the fasteners.
Contact Us
"*" indicates required fields
OUR SERVICES
PAINT PROTECTION FILM
WRAPPING
SERVICING
